Easy to install screen panels using Screen Tight
Easy to install screen panels using Screen Tight
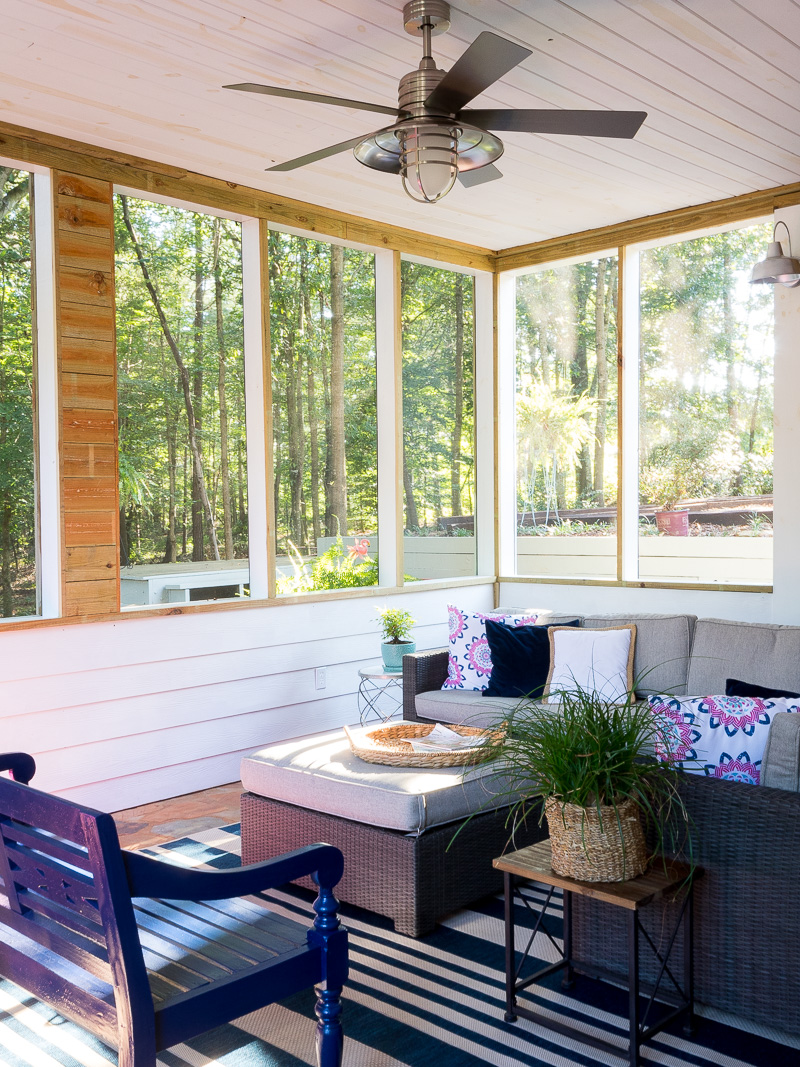
The last thing to complete with the screen porch project was making and installing the screens. You can see the finished room details here. This is a necessity if we wanted to keep mammoth sized mosquitoes from eating us alive. Thanks to a lovely reader ( you know who you are) who tipped me off about using a product called Screen Tight.
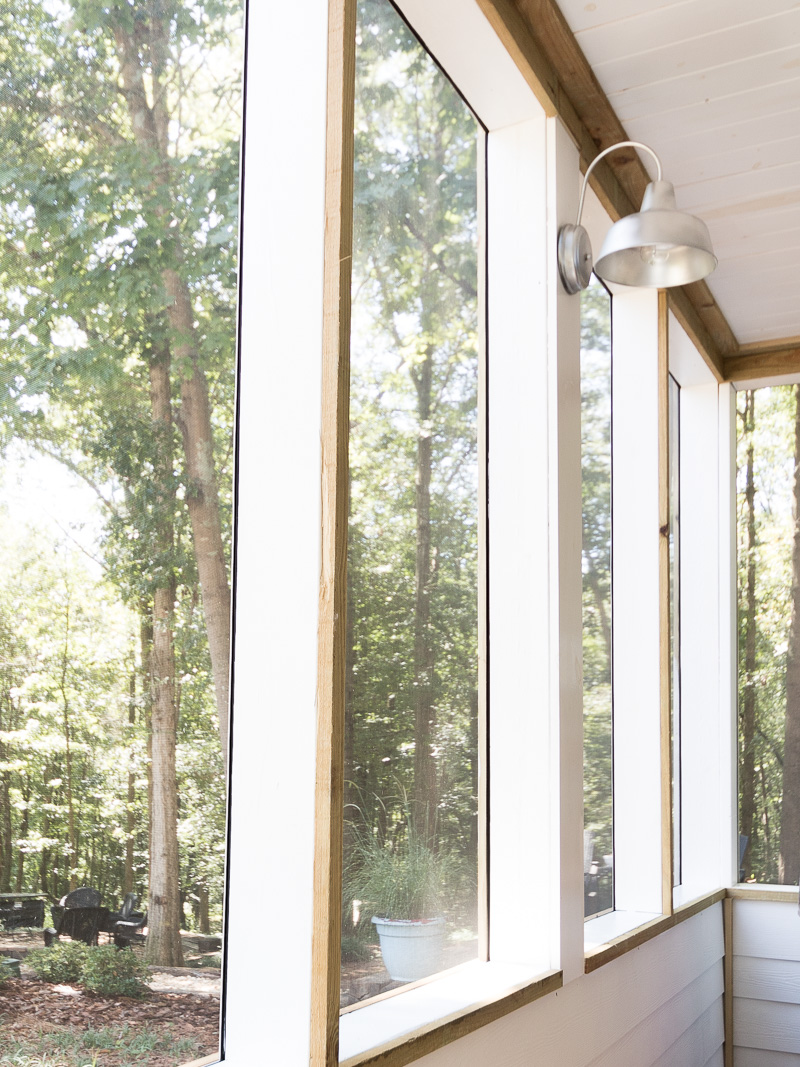
When I tell you that we saved a ton of money and time installing these screens, we did. Each screen cost us approx $18.00 to make, which was certainly a lot less then if we had the screens custom made. We made a total of 10 screens for our space.
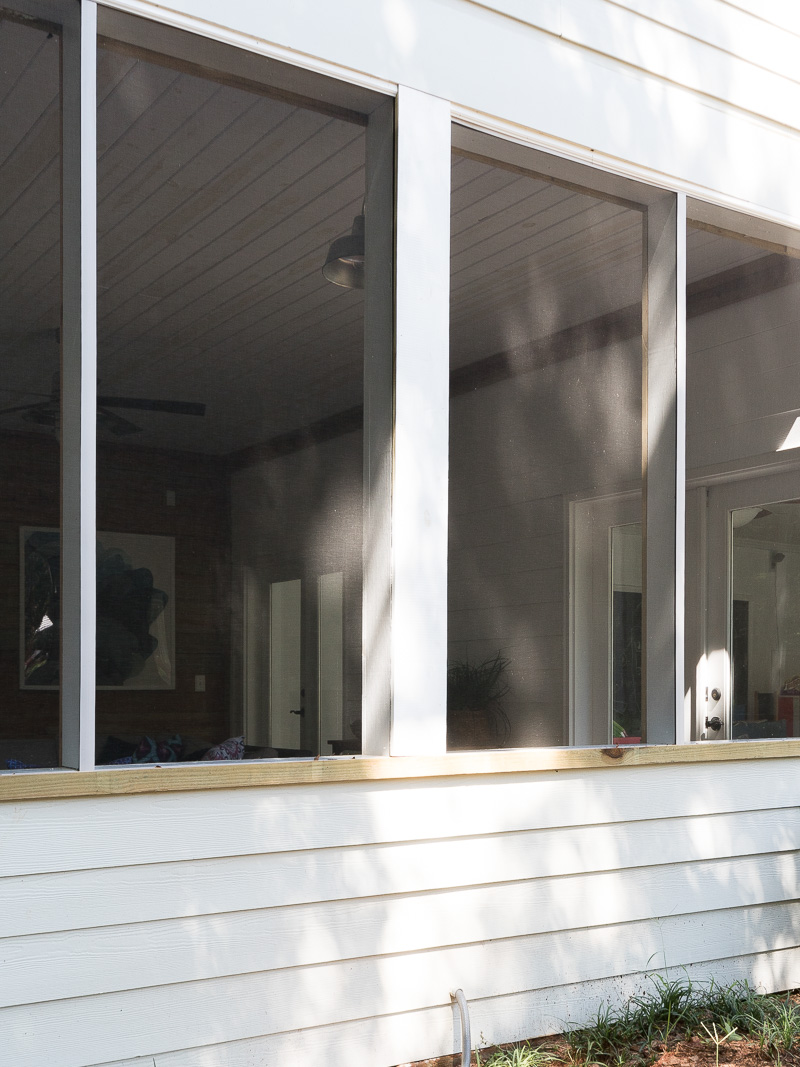
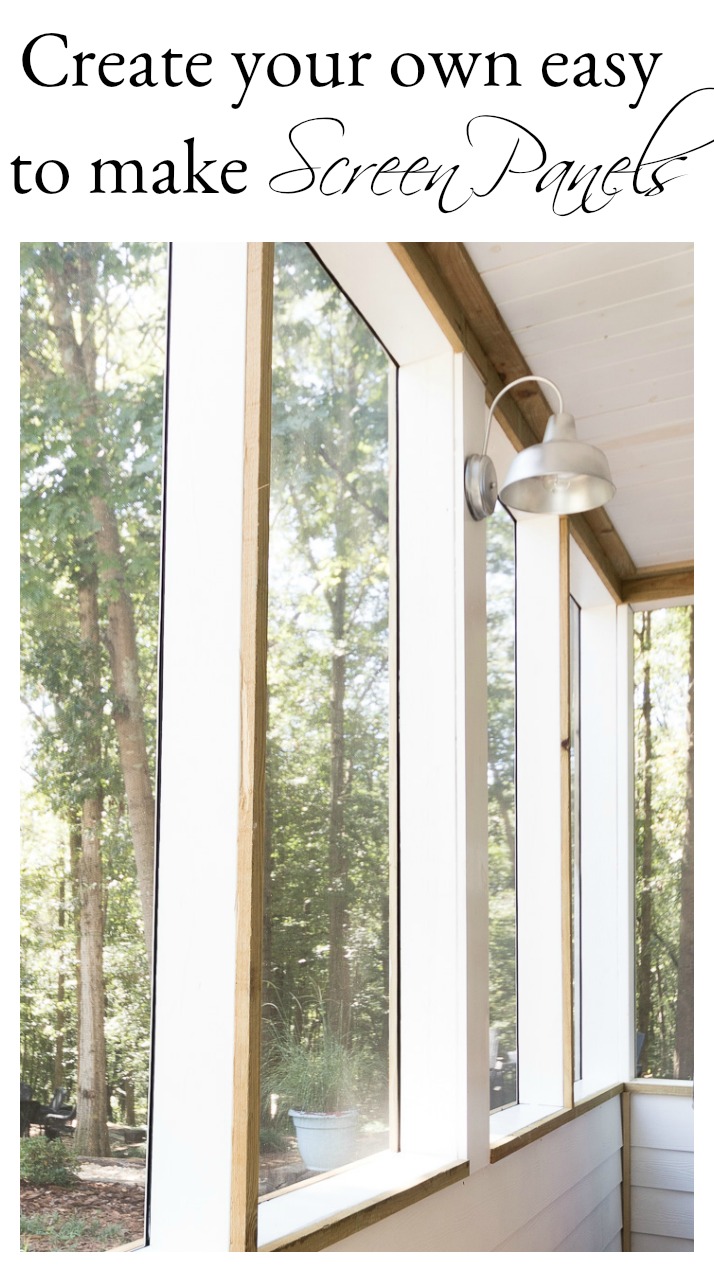
In the past when we have created screens we typically would use wood to make the panels. Screen Tight is basically a track that you install on the perimeter of the opening. No extra wood necessary. I put together a few of the basic steps that we used for each of the openings so you can see how simple and easy the process really is.
Easy to install screen panels steps
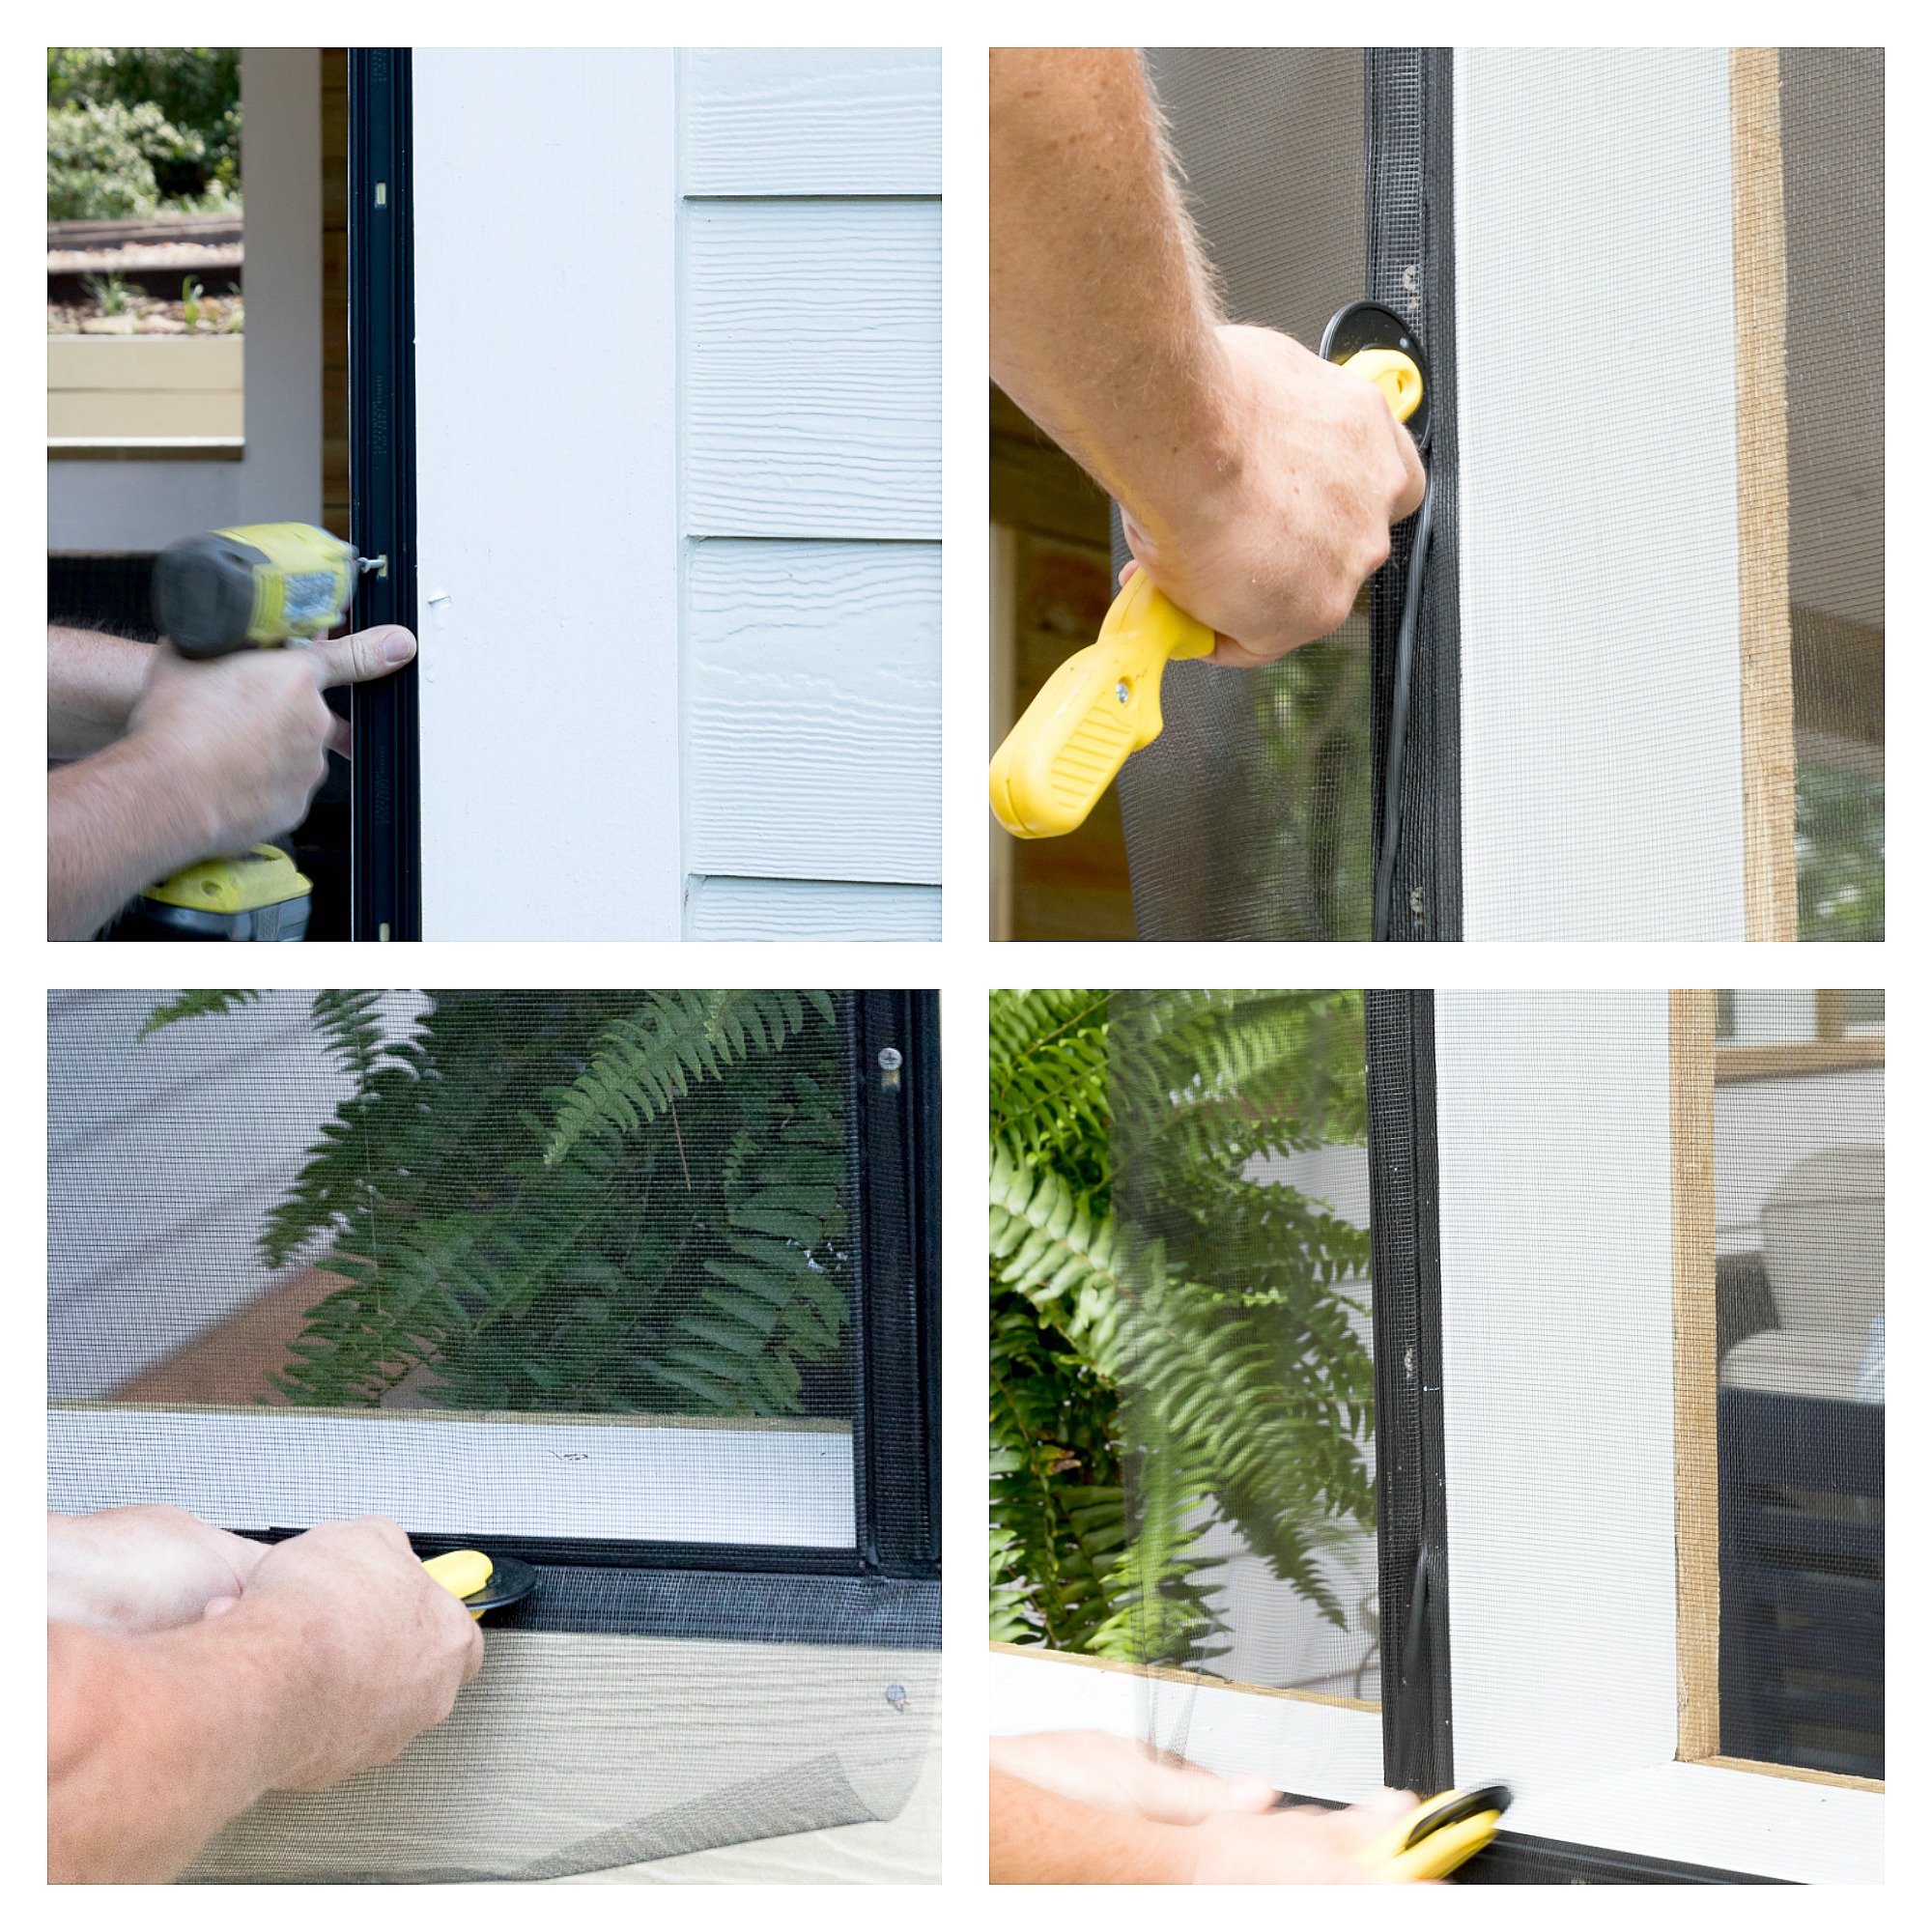
- Measure and install the screen tight track around your opening.
- Cut a piece of screen bigger then your opening.
- Using a roller knife, press the screen spline into the groove. This is what holds the screen in place and makes it nice and tight.
- Cut away the excess screen using the roller knife
- Place the cap into the base. This will cover and conceal the screen base. We did not use the caps and used wood trim instead.
Shop screen panel supplies here –
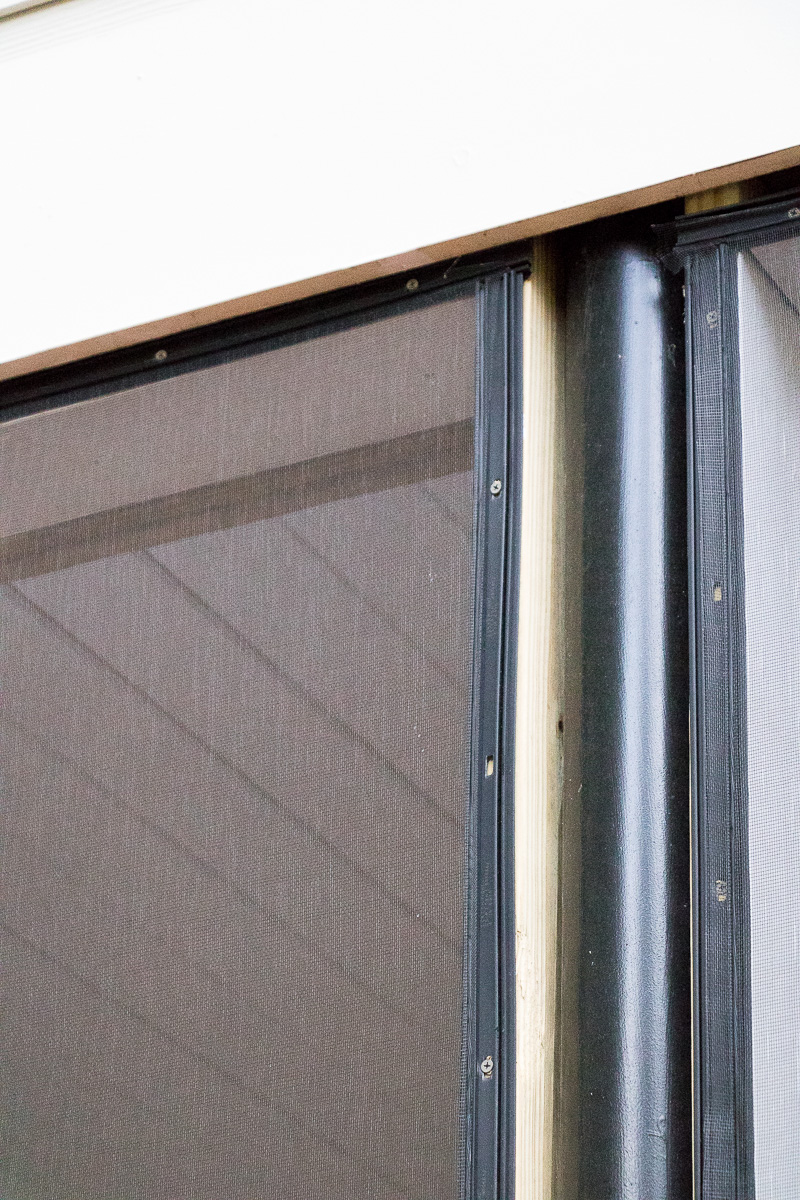
This is what it looks like without the final cap or trim piece. What I absolutely love about this product is how easy it will be to replace a screen that gets damaged or torn, which is just a matter of time in my household. When that happens, you take the cap/trim off, remove the spline and screen and replace with a new screen. Easy. Just like that. Which will give us much more time to enjoy our space….. instead of fixing screens.

grateful
for rest…. when my body needs it
affiliate links included in this post







Love your porch and the tutorial! Thx for sharing. Love your ceiling fan as well. Would you share your source? Thx so much!
I love that fan. It is from Birch Lane
Thank you so very much for sharing this. We will be putting this to good use soon. We have a crooked little cabin on our property that has…
wait for it….
… a screened porch!
You would laugh if you saw it, but the raccoons (or some small beasts) have ripped the screens. So this great idea will be utilized in fixing those screens. Thank you! I feel like I owe you…
Teresa
this process is so easy and perfect to keep the critters out, although a racoon will always find a way in. have a great weekend!
Thanks for the great tutorial. We sooo need to do this.
it was so easy…