How to make a snow globe candle topper
Snow globe candle toppers are a creative way to add a fun, festive vibe to the top of a candle. This is an easy DIY project that combines the charm of a snow globe with the practicality of a candleholder. It makes them perfect for holiday decor displays or gift-giving. Follow these four easy steps to create your own snow globe candle topper.
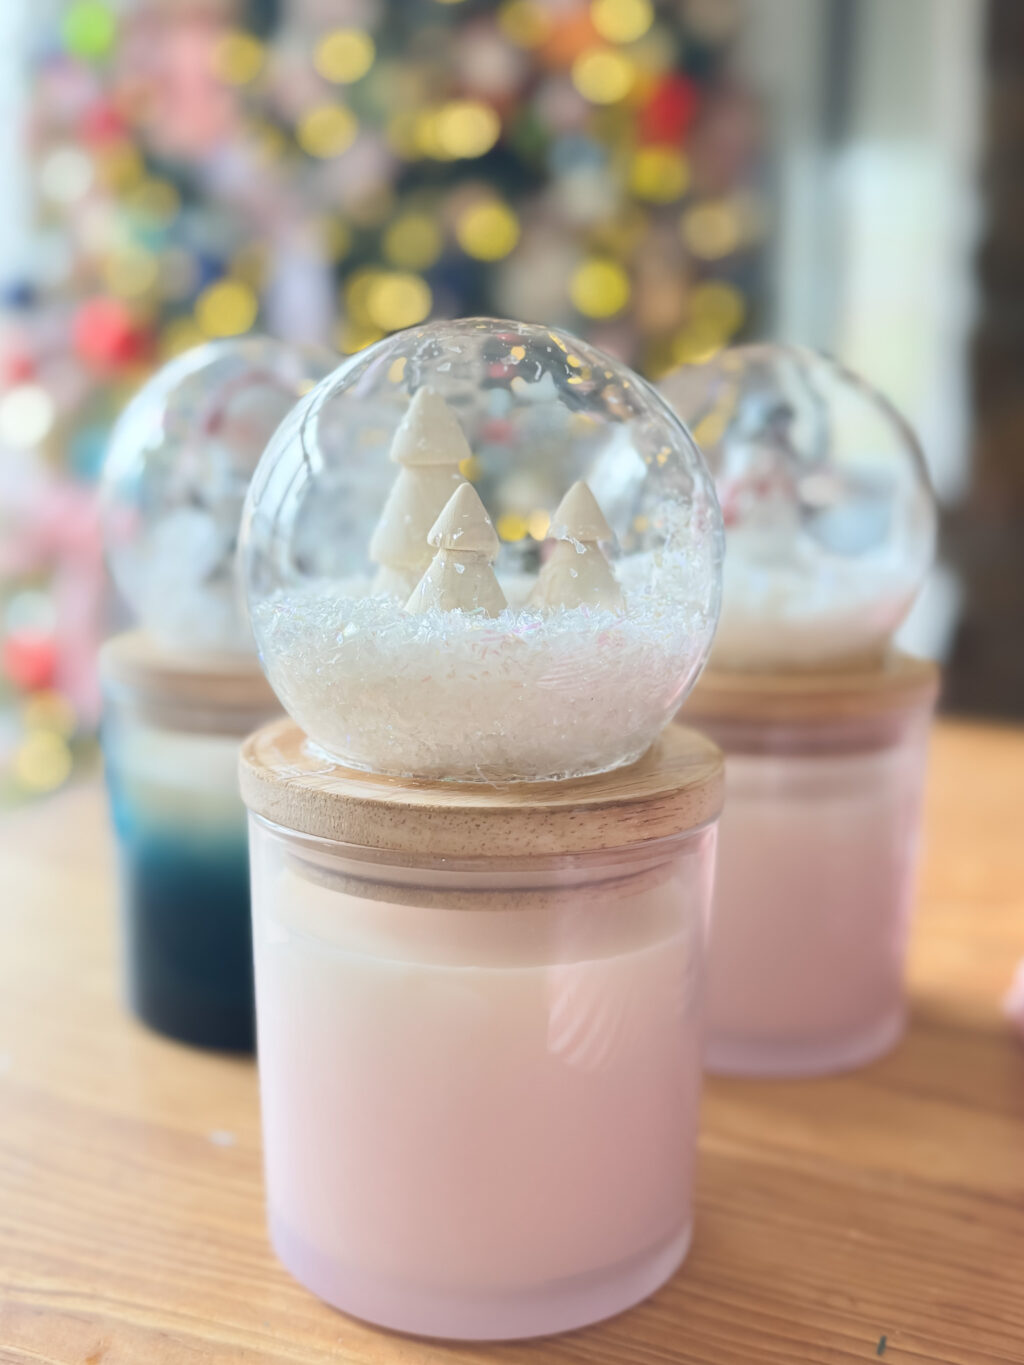
I snagged some BHG candles from Walmart on black Friday. I knew they would make the perfect gift, especially with a cute DIY snow globe topper. The reason I like these candles ( although you can do this project with other candles as well) is because the wood top is a perfect base for the snow globe and because the label is easy to peel off.
How to make snow globe candle topper
Step 1: Secure Objects to the Wooden Top
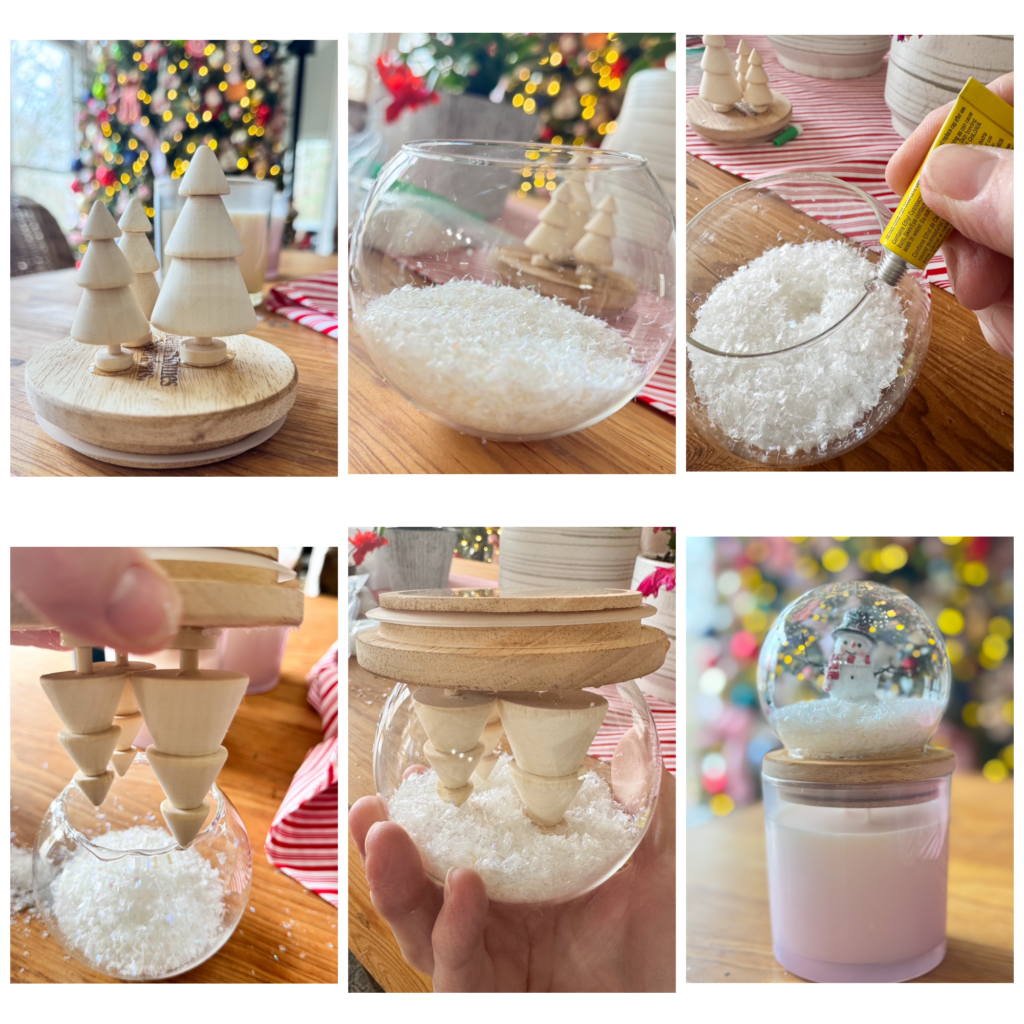
Begin with a wooden candle topper, which serves as the base for your snow globe. Select miniature objects such as tiny trees, figurines, or faux trinkets that align with your desired theme. Arrange these items on the wooden top, ensuring they fit within the glass dome you’ll attach later. Once you are satisfied with the layout, secure the objects using a strong adhesive. You can use glue, hot glue or an adhesive. Allow the glue to dry completely to keep everything firmly in place.
Tip: You can customize the snow globe for birthday or valentines day as well.
Step 2: Fill the Globe with Faux Snow
Next, take a clear glass dome or cloche that fits your candle topper. Fill it with a small amount of faux snow—enough to create a snowy ambiance without obscuring the objects you secured earlier. You can use store-bought snow, glitter, or tiny foam balls for this step. I picked up bags of faux snow at the Dollar Store. Adjust the amount based on how much snowfall effect you want. I probably went a bit over board with my snow fall but liked the ‘wintery’ vibe.
Step 3: Apply Glue to the Rim of the Glass Dome
Apply a generous amount of clear-drying adhesive along the rim of the glass dome. Ensure an even application to create a strong seal between the dome and the wooden base. Wipe off any extra glue quickly with a rag or paper towel before it dries.
Tip: Use a glue that dries quickly but allows a few seconds for adjustments. I used both super glue gel and e600 for this project. They both worked the same and allowed me to move things around before securing.
Here are the products I used for the Snow globe topper
Step 4: Attach the Globe to the Wooden Top
With the wood top in a upside down position, place it on the glass dome. Hold it in place for a few seconds to ensure a secure bond. Once dried, place snow globe on a candle.
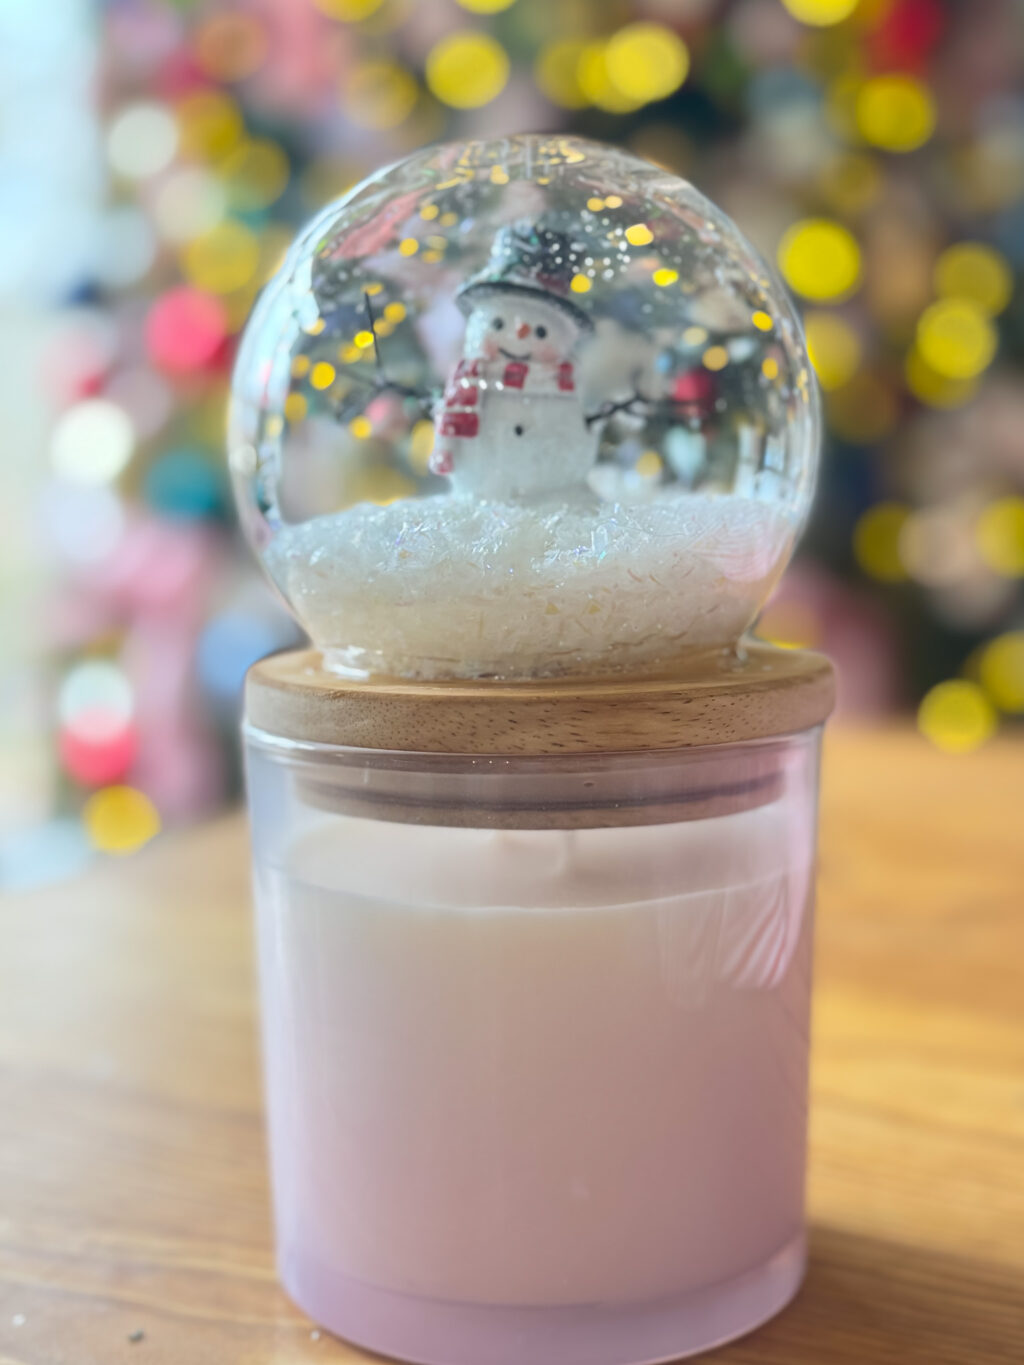
Making a DIY snow globe candle topper is a fun holiday project that brings extra cuteness to a candle. They make a perfect gift for friends, family or as a hostess gift during the holiday season. With just a few items and four simple steps, you can create a functional holiday candle decoration that’s perfect for the holiday season—or any time of year.
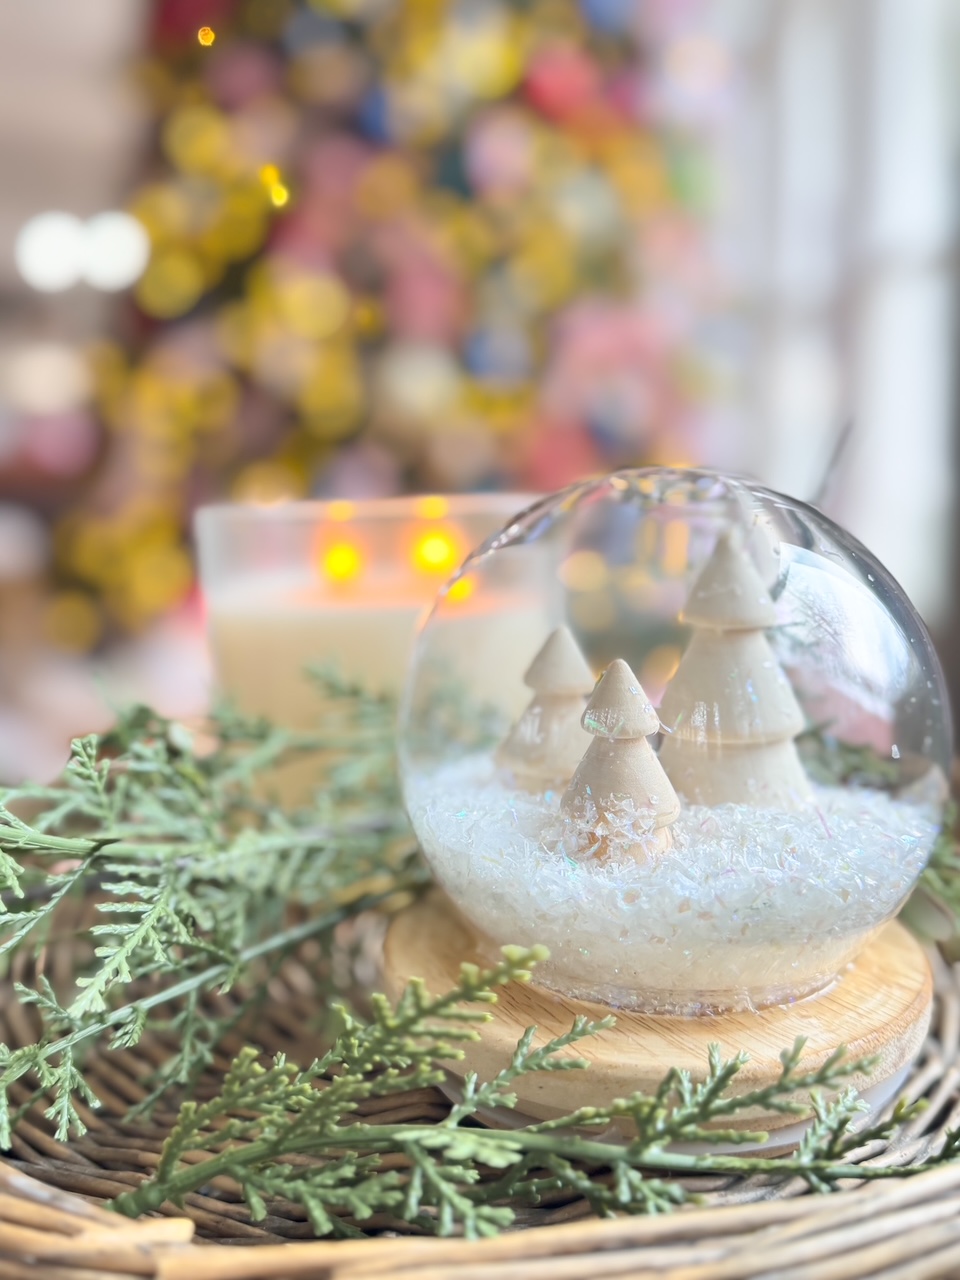
I hope I inspired you with this snow globe craft idea. For more Winter decor DIY projects, visit these posts:
Perfectly flocked pinecones….you won’t believe what I used!
Easy fur wreath…using left over ribbon.

This post may contain affiliate links for products that Duke Manor Farm uses, recommends or suggests to its readers.


