How to make a Valentine Charcuterie Board
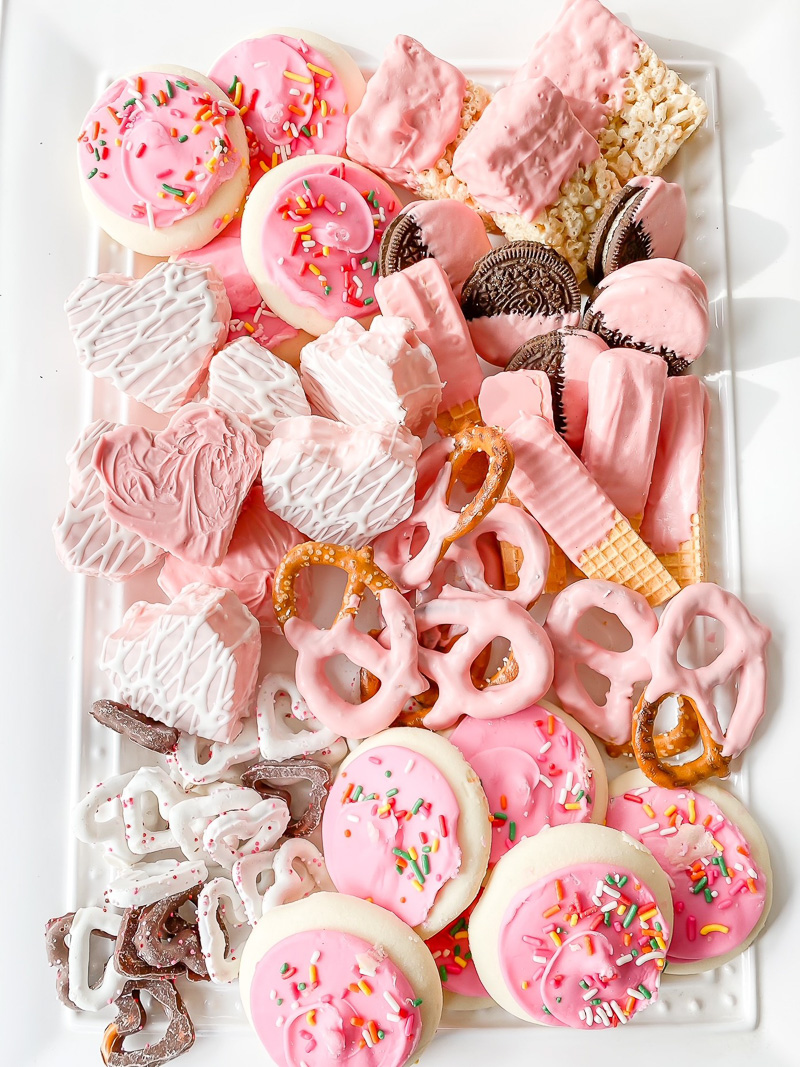
How to make a Valentine Charcuterie Board using a combination of homemade and store-bought treats that you can dip in your favorite chocolate. Assembly takes minutes and it’s sure to be a favorite dessert/treat idea for any holiday or special occasion.
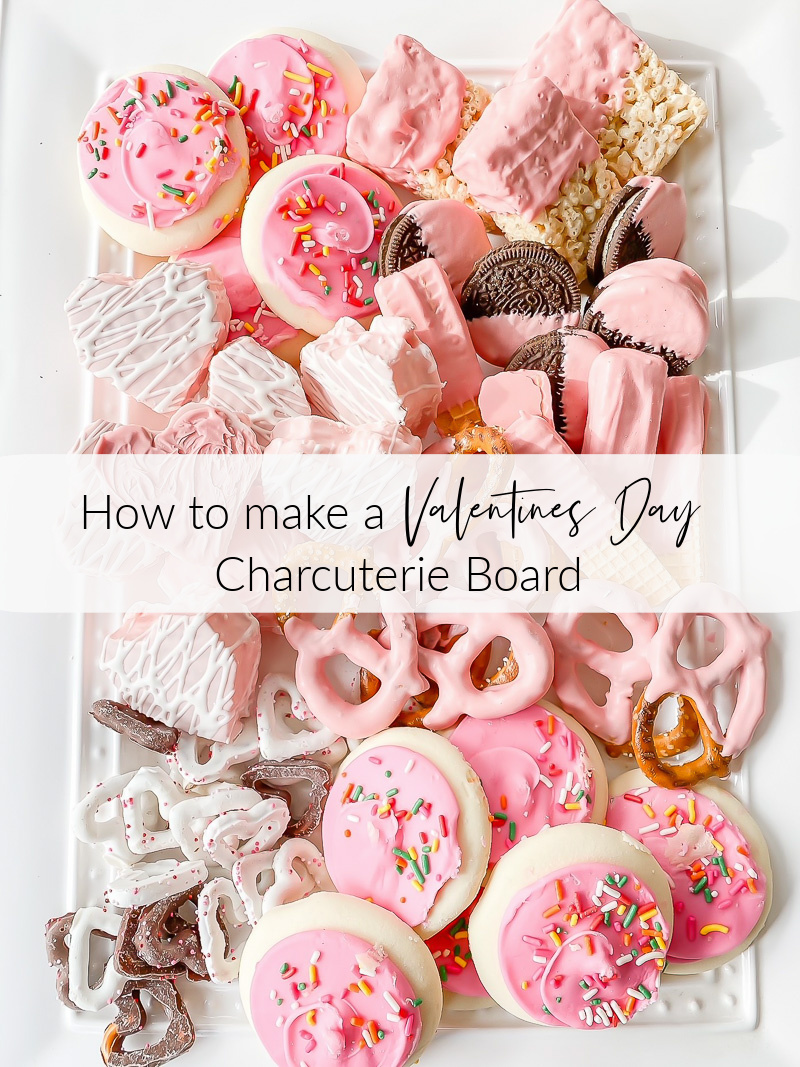
With Valentines Day next weekend, it’s time to start planning out a special treat for your loved ones. This year I decided to go all out and create a Valentine Charcuterie Board that I know the kids are going to love. Sweets and chocolate….yes, please.
How to make a Valentine Charcuterie Board
As with any Charcuterie board, you want to gather items that take in the right amount of color, texture and flavor. I’d say that the pink chocolate, variety of treats, and tons of sweetness give this board an A+….and some extra time working it off next week. Putting it together was fun and easy once I decided on the pink theme. I used a combination of homemade treats and store-bought ones that I embellished with some pink chocolate coating.
Here’s where I started:
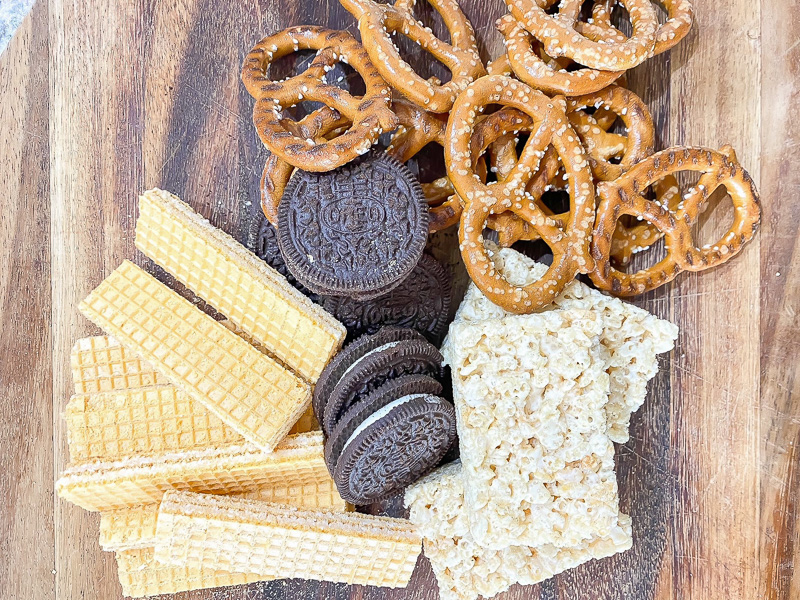
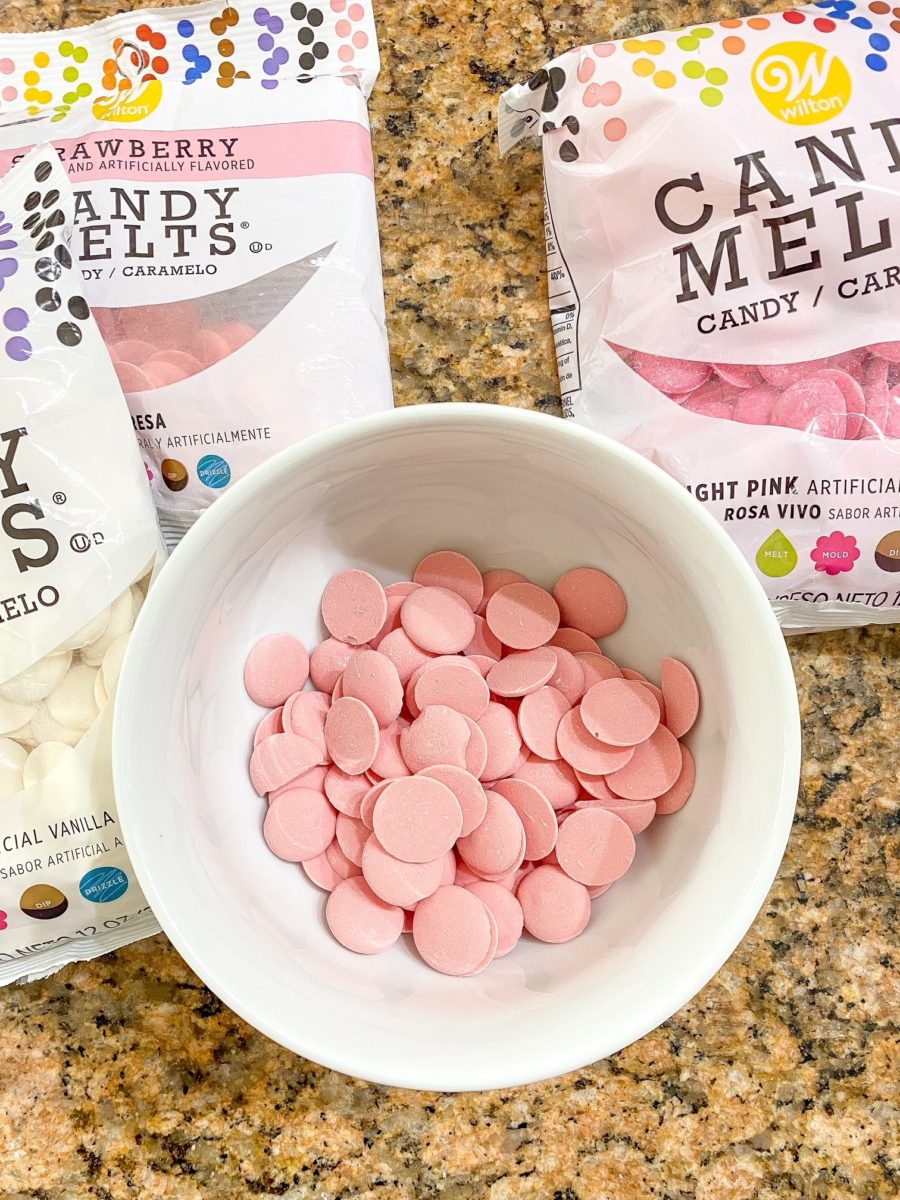
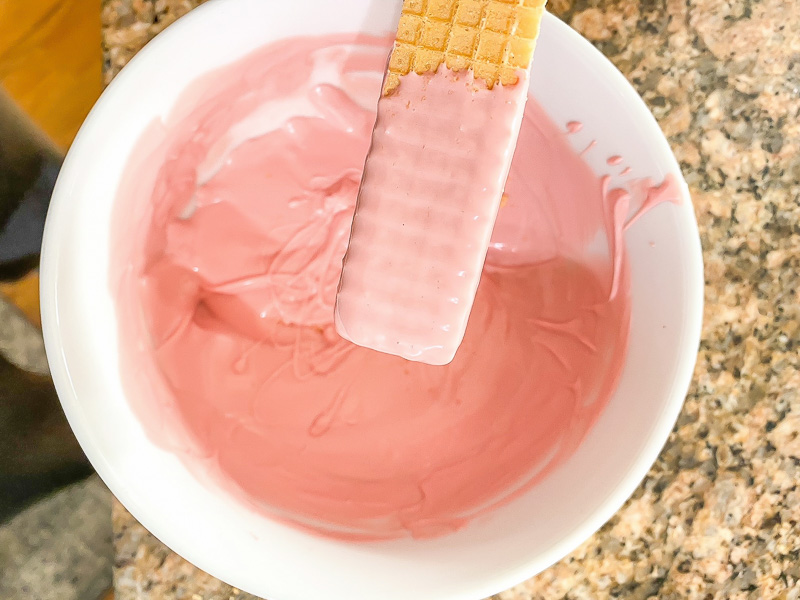
Before I started dipping and assembling, I needed to decide what I wanted on my valentine charcuterie board, and how it would look in pink. Luckily I had most of these treats that my kids love in my pantry so I was ready to go. The next step is dipping in the candy melts. I always keep candy melts on hand for fun treats like my 3 step candy hearts or coated cookie balls . I loved using this candy melt pot but lately, I find just putting the melts in a microwave-safe bowl does the job just as well.
My favorite tip when using Candy Melts:
- melt your candy melts
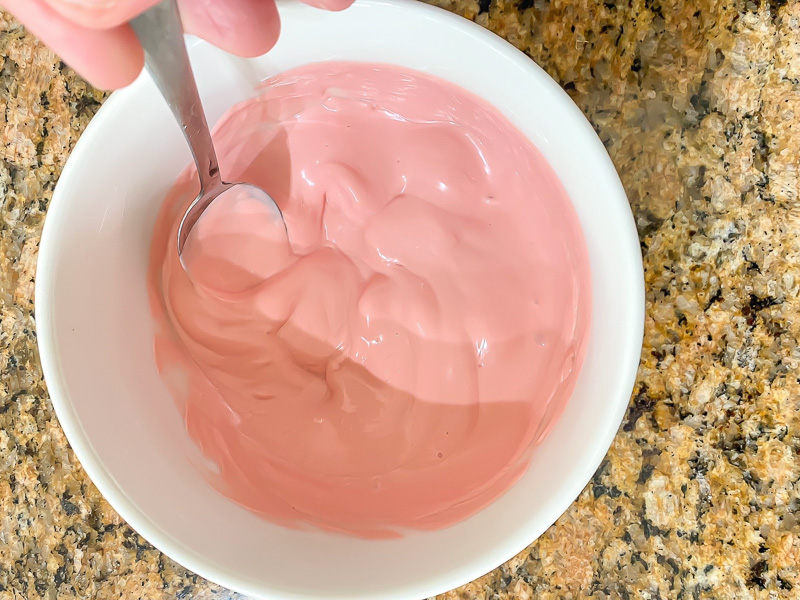
- Dip your favorite treats in the warm chocolate
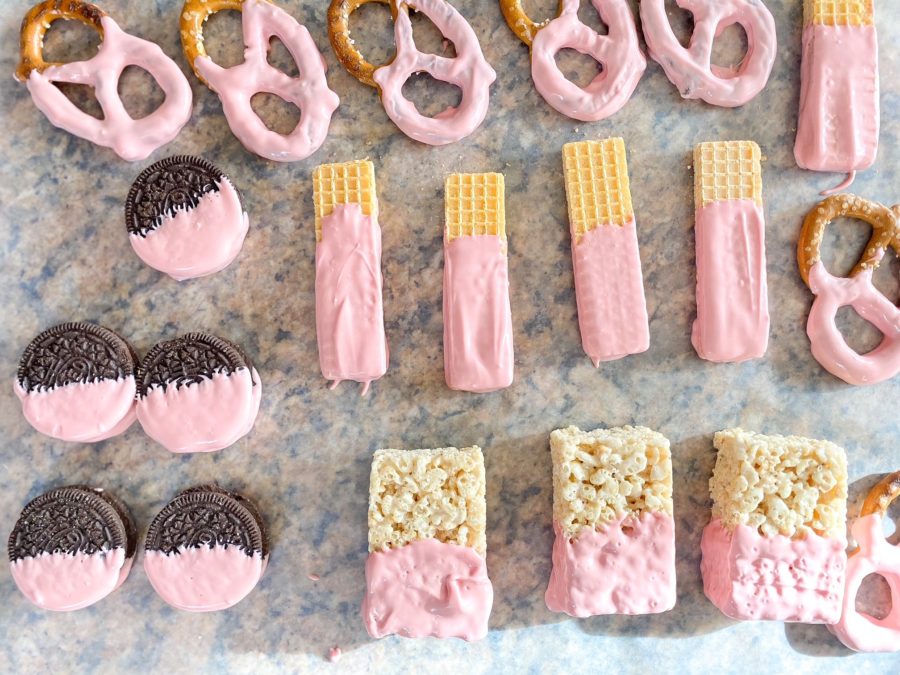
- Let your items cool completely before assembling on your board
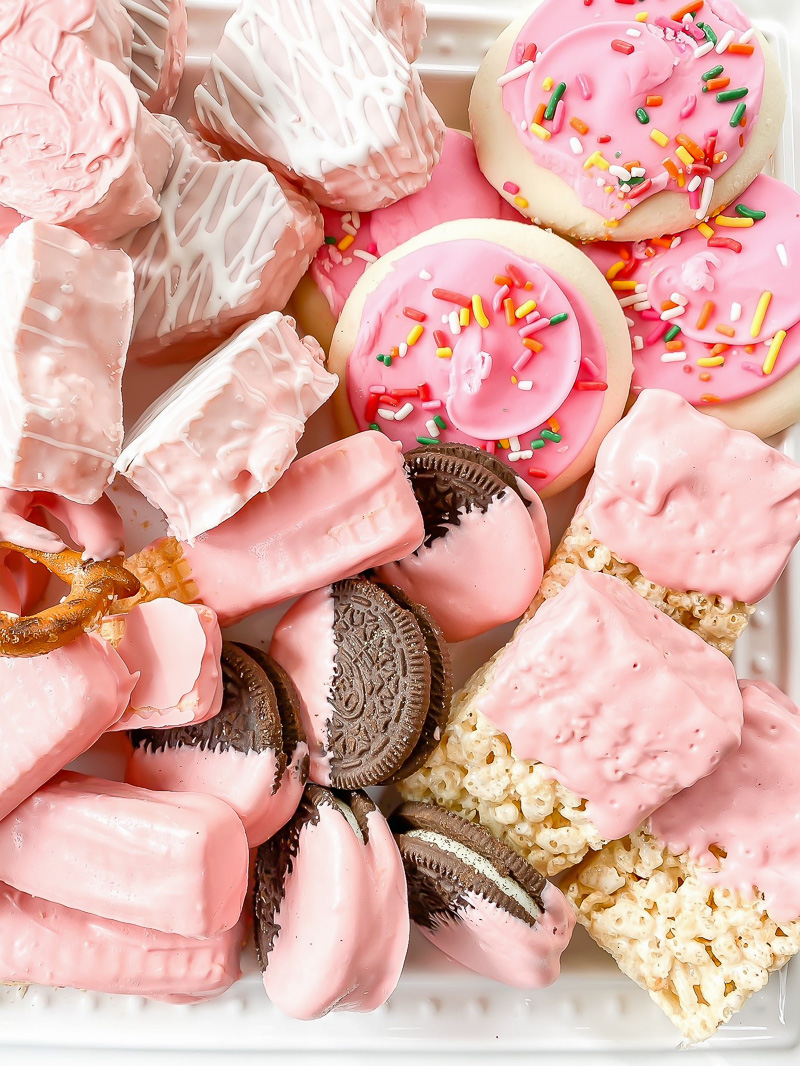
Now it’s time to assemble your goodies on a big platter or tray. I assembled by grouping each of the items in no real order or pattern. It’s not going to last anyways.
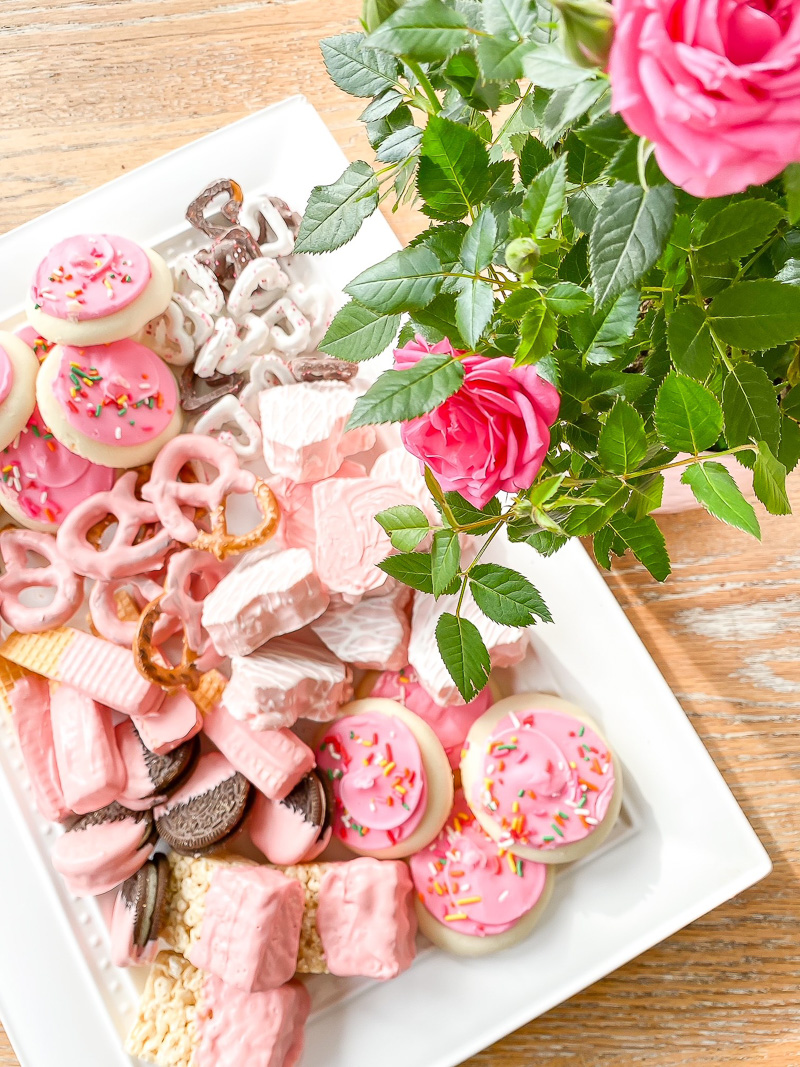
Helpful tips when using candy melts
- Microwave your candy melts for 3-4 mins, stopping halfway to stir the mixture. I place a 1/2 -1 teaspoon of vegetable oil after it comes out. This will help with the consistency of the melted candy. I saved a bit of time just dipping one side of my treats vs covering the entire thing with chocolate.
- After you dip in the candy melts, tap the excess back into your bowl.
- Place your items on a wax sheet of paper. Let everything dry for 5-10 mins.
This Valentine Charcuterie board will be a hit with your loved ones!
This post may contain affiliate links for products that Duke Manor Farm uses, suggests, or recommends to its readers.


Not only is this yummy, but it’s so pretty! I love the ease of dipping things to give them an extra dimension.
Oh my gosh! I LOVE this!!! Everything looks so pretty coated with a pop of pink! What a perfect way to make Valentine’s Day feel extra special this year!
I’m note a huge Valentine’s person but this looks so very sweet! Love your Valentine’s charcuterie board. xx
This looks so pretty and so fun. I need to make something fun for the grandkids. Thanks for the inspiration.
How stinking cute, I love the mix of store bought items all blinged up with chocolate dips and sprinkles. Love it 🙂
This is just the cutest thing ever, I just love how adorable it is. I’m not sure I’d be able to let people actually eat any of it because it’s so pretty! I bet it was delicious!
Looks so good, Laura! And, I’m sure your kids loved it!!!