5 tips for your next stencil project
Use these 5 tips for your next stencil project to create an amazing focal wall in any space of your home
So I did this thing the other day…. I stenciled an entire wall in the Den. I can’t tell you how long it has been since I have stenciled anything! I have stenciled pillows and table runners and even a chair but not sure I have ever done a wall. But it’s done, I love it and just what the Den needed. And for the record, I finally finished a project!
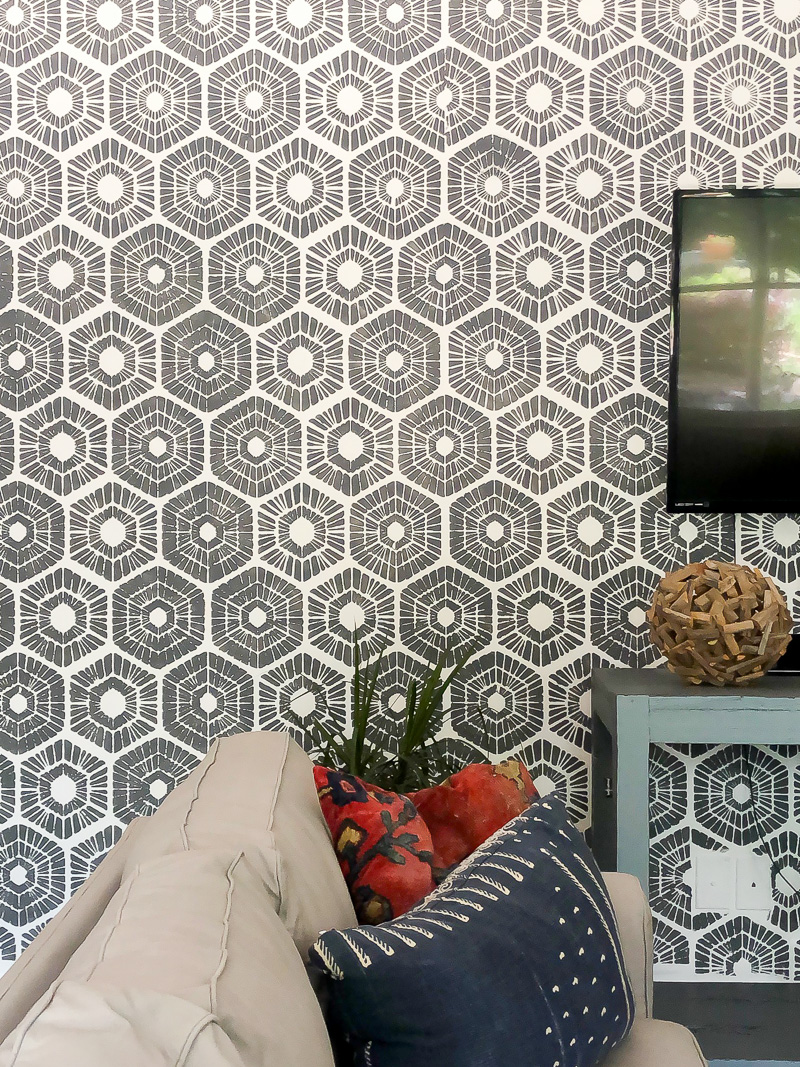
I decided to make a few changes to this room when I was getting the new hardwoods installed. You can see the full reveal here. I have always wanted to do something with this wall since it’s the main wall in the downstairs den. I considered baskets, gallery wall, and just leaving it alone, which I did for many years. Nothing jumped at me until I found this stencil. With walls painted ( Web Gray from SW) and new floors installed ( Aspen Crevasse from Twenty& Oak) it was time to stencil the wall.
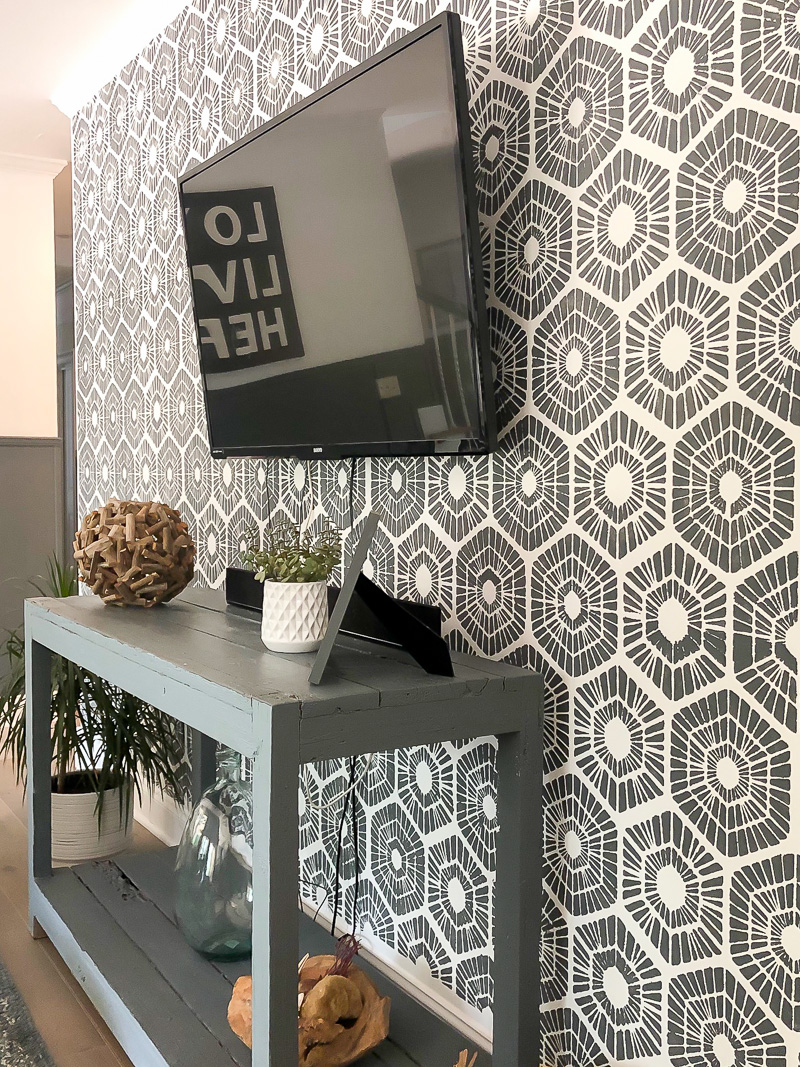
Although not entirely perfect, it’s perfect for my space. I put together a few tips that I used when doing the wall that may help you if you are a first-time stenciler or haven’t used a stencil on a wall before.
5 tips for your next stencil project
Start with a forgiving pattern
Even though I have a few oops on my wall, the pattern is so busy that you don’t really see them. I wouldn’t say this is the best pattern to start with if this is your first time stenciling. If so, read on for more of my tips. For reference, this stencil measured 2 feet by 3 feet.
Create a starting point
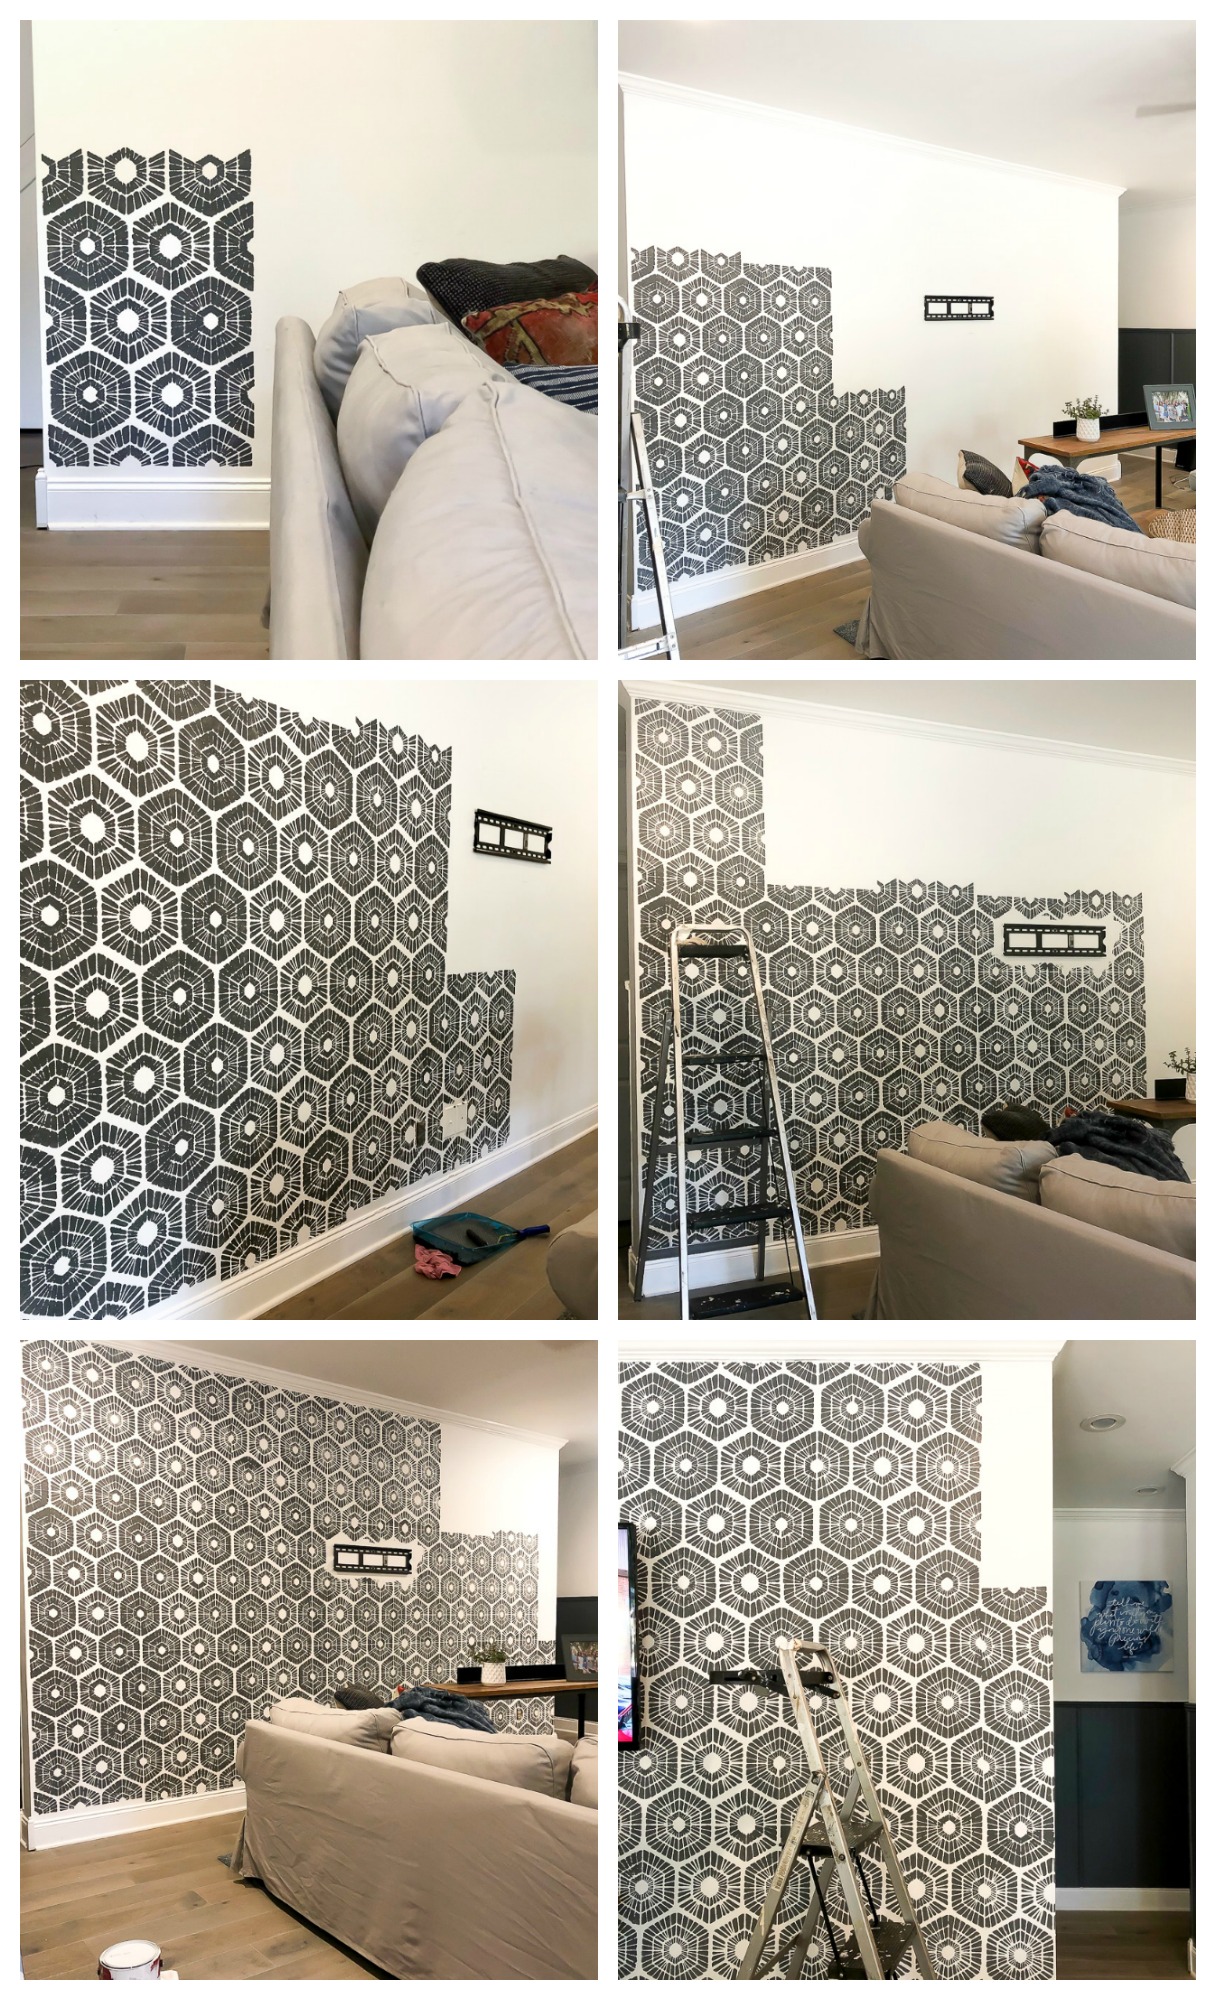
Create a starting point using a straight edge. This will help keep your pattern and stencil level. I started in the corner and used the baseboard as my straight edge. Don’t throw the stencil up in the middle of your wall or your lines may not come out as even.
Keep your stencil secure
I opted not to use stencil adhesive and went right to duck tape to keep my stencil secure on the wall. I cut a few small pieces and randomly placed around the perimeter of the stencil to hold it in place.
Let your stencil dry in between
To minimize the ‘oops’, place a drop cloth on your floor and let the stencil dry between placements. Be patient and take your time. This wall took me a few hours over two days. A few times when I tried to rush, my stencil was not dry enough and I got more paint on my pattern then I needed.
Don’t use too much paint
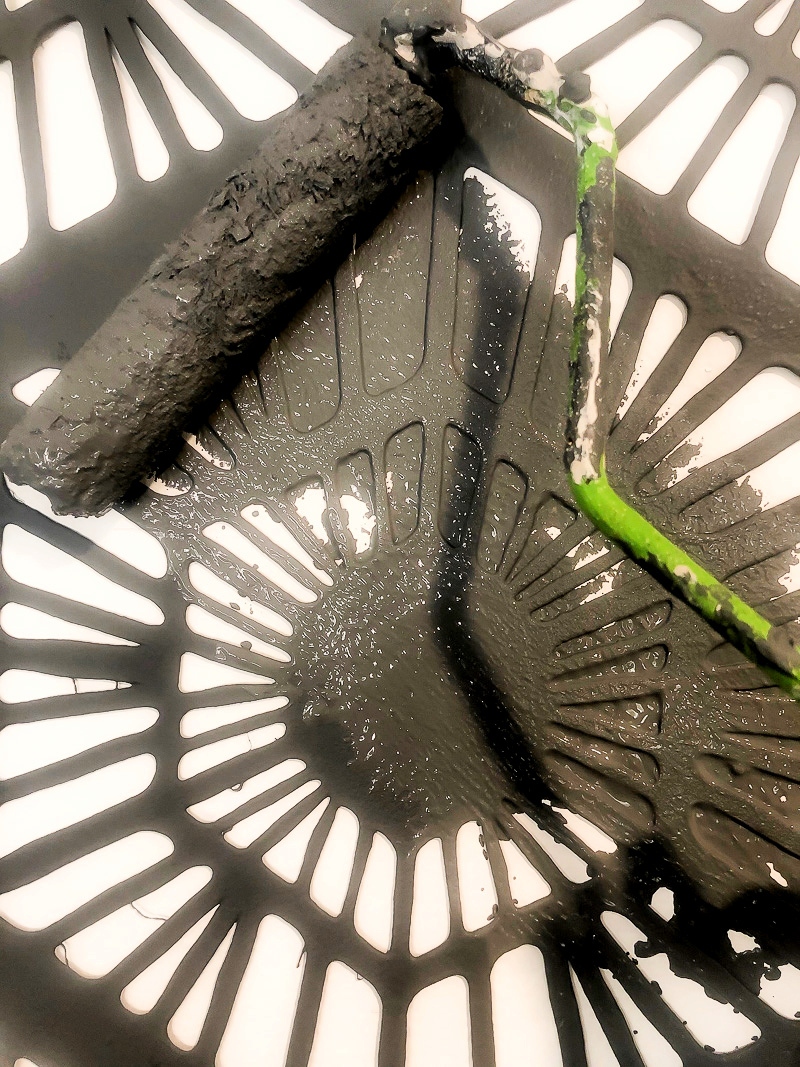
In my opinion, this is the most important tip of all. Don’t use too much paint on your stencil. I used a small roller to apply my paint to the stencil. It is better ( particularly with a pattern like this) to apply less paint than too much paint. Too much paint will cause the pattern to become distorted. It’s a lot easier to apply more paint if needed then it is to make the correction to fix your pattern.
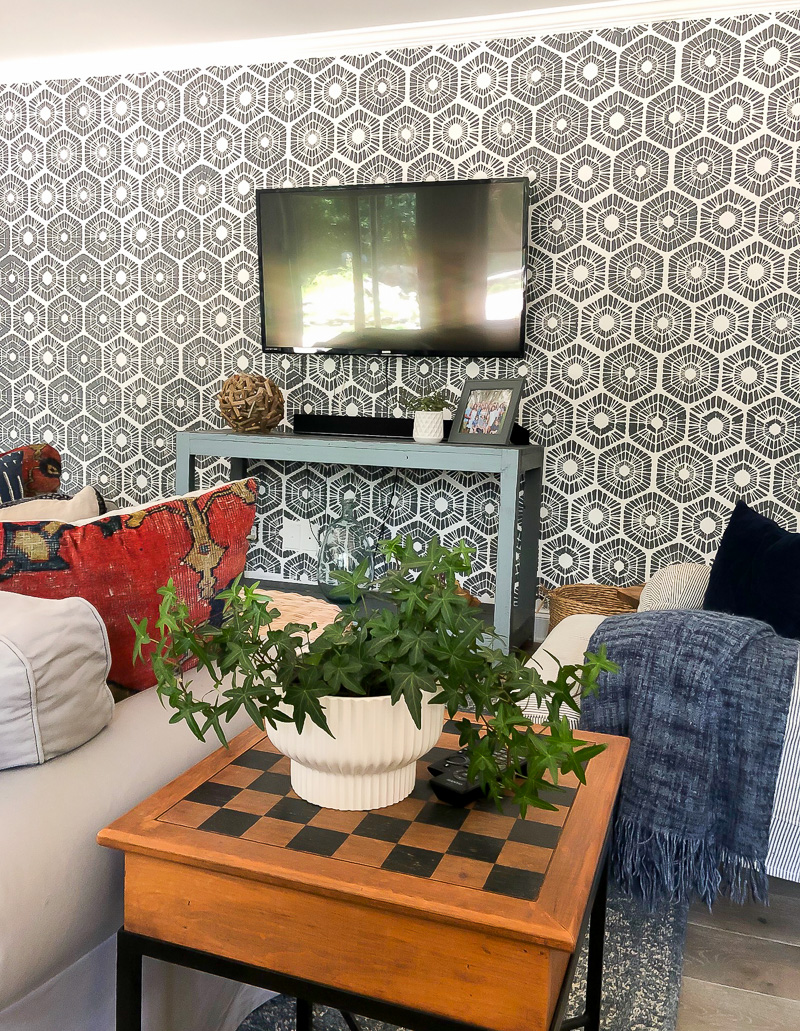
You wouldn’t believe the number of people who thought this was actually wallpaper when they first walk into the room. I found that using flat paint on the wall and not going so thick with the application gives it a real smooth surface like wallpaper would. At $35 bucks for the stencil, 1 quart of paint, and some patience, I would say I saved a lot of money as well for an amazing look for my wall.
Got any stenciling questions? Leave them in the comments.

grateful
to finish a project




I love it, it looks amazing. Great job.
thanks marty!
Hey! Looks great! Where did you find your stencil?
I think it looks great! I’ve been wanting to try this but goodness gracious, my patience is looooooow! Pinned 🙂
Wow – it’s beautiful. You are one gutsy lady! My daughter just finished a stencil project. She redid her powder room. Her ceramic floor was in perfect condition, but she really hated the color. She didn’t want the work, mess and expense of putting a new floor in. She ended up painting the floor white, and used a custom made stencil that was the same size as each tile and stenciled it in black. After a really good drying period, she applied 2 coats of sealer. What a great job.
Love it! What paint color did you use?? I want to do a wall in my walk in closet. Already ordered the stencil