5 Step Thanksgiving Centerpiece
So tell me, are you the organized holiday type who has the meal planned and the Thanksgiving table already set , with two weeks to spare? If not , this 5 step thanksgiving centerpiece is for you. Ha, And I bet you already have the stockings up and the tree trimmed too! Well congratulations….and thank you for shaming inspiring the rest of us.
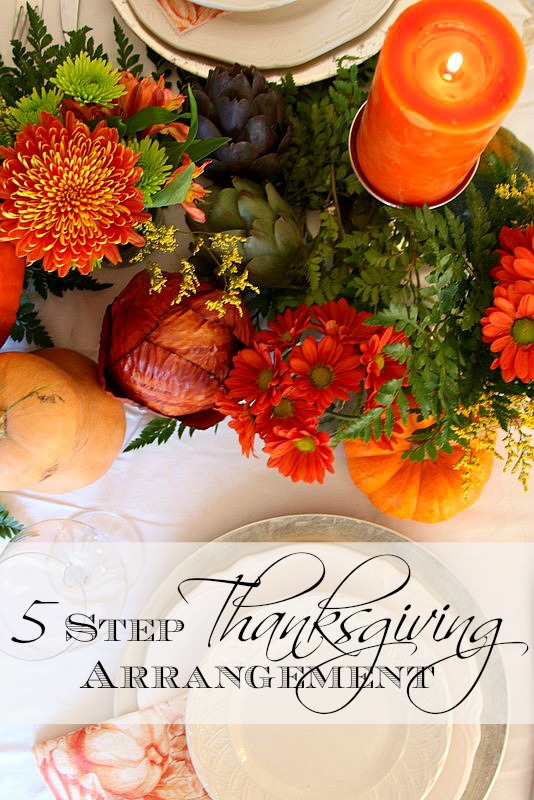
However, if that’s not you, this post is for you. A 5 step Thanksgiving Centerpiece, that you can do in less then 5 mins before your guests show up for dinner.
Before I show you how simple it is to put together ‘gorgeousness’ on your Thanksgiving table, here’s a few tips to keep in mind when creating your centerpiece.
You don’t have to spend a fortune on flowers. Believe it or not, the flowers in this centerpiece were on clearance and probably totaled about $12.00. I bought several small little bunches and made my own arrangements. It’s your fillers that create the fullness.
Consider veggies in your arrangement’s. They make excellent fillers and are a nice complement to your flowers.
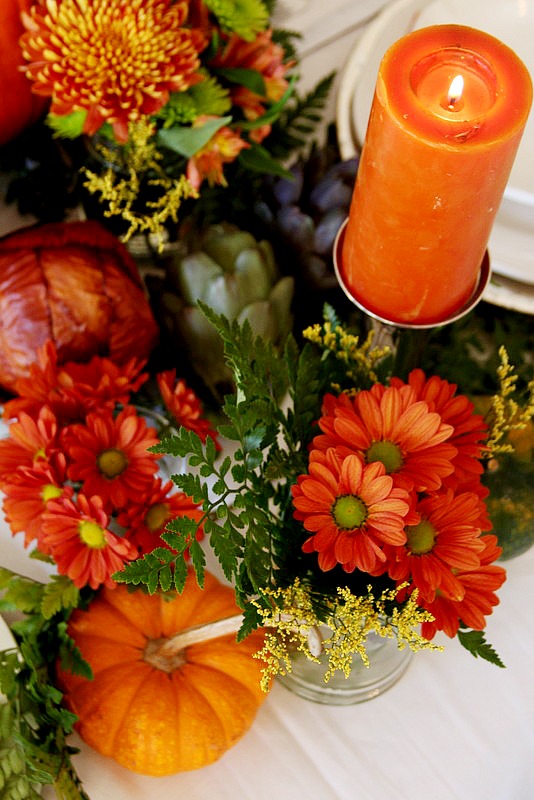
Consider unexpected items in your centerpiece. Go with items that work with your color palate and are good in size and scale.
If you have any unused curtain panels laying around, use that as a table cloth…I did.
5 Step Thanksgiving Centerpiece
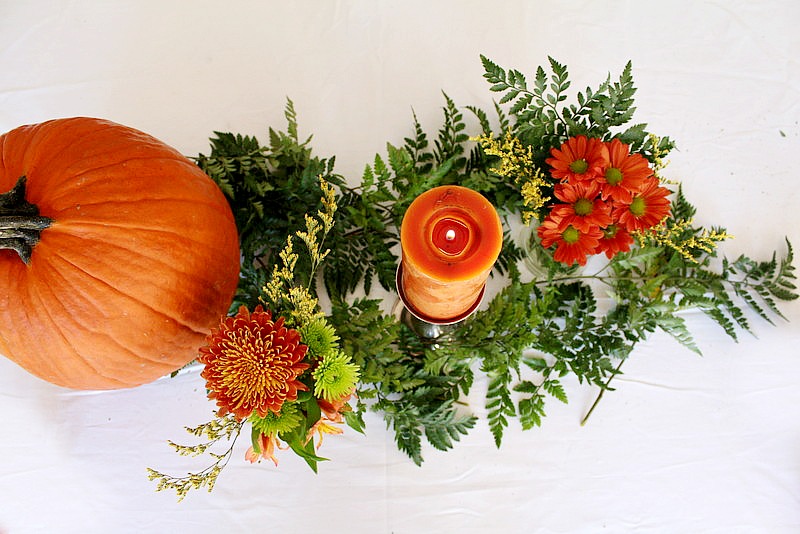
Step 1. Scatter some ferns in the center of your table. You can either cut ferns or something else green from your garden or buy a bunch in your floral department at the grocery store.
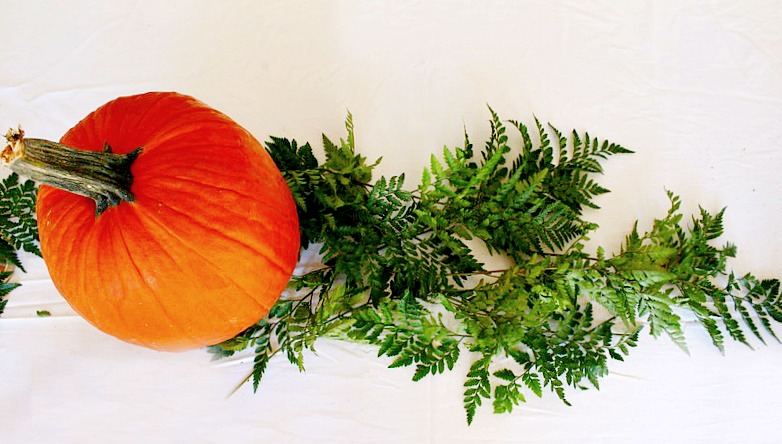
Step 2. At the risk of sounding obvious, place a pumpkin in the center of the table. Your biggest item and focal point should always be placed in the center of the table.
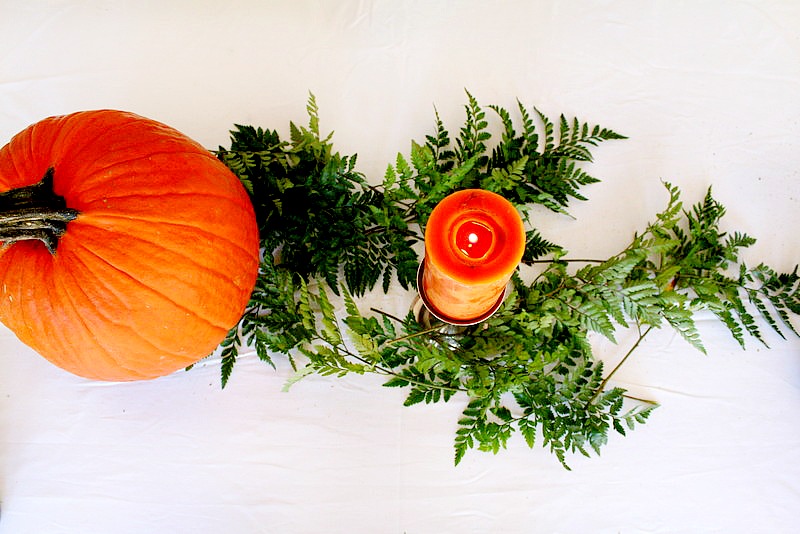
Step 3. Place a couple of candlesticks randomly, for height. I actually like to have varying heights and positions for my candles, so it doesn’t look so uniformed. I used one on each side in this arrangement.
Step 4. Place random bunches of flowers on each side around your candlestick.
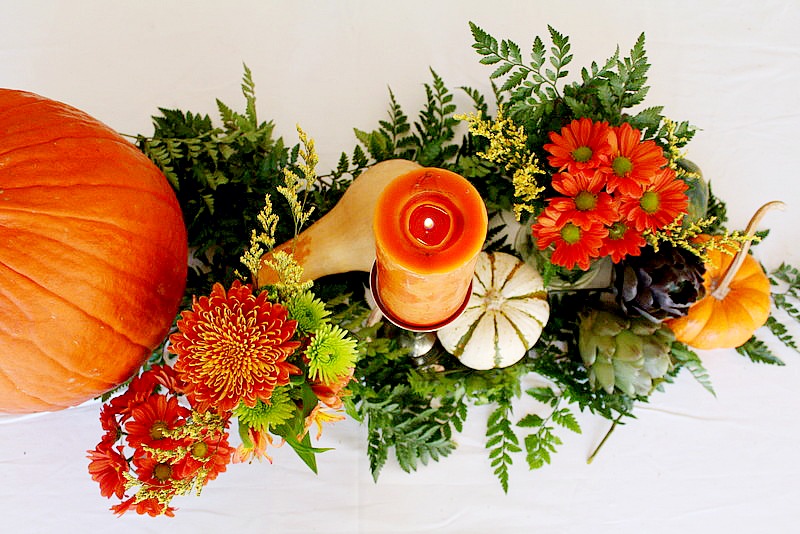
Step 5. Fill in the gaps with veggies or other dried natural elements. For this arrangement, I used mini pumpkins, acorn squash and faux artichokes from Hobby Lobby.
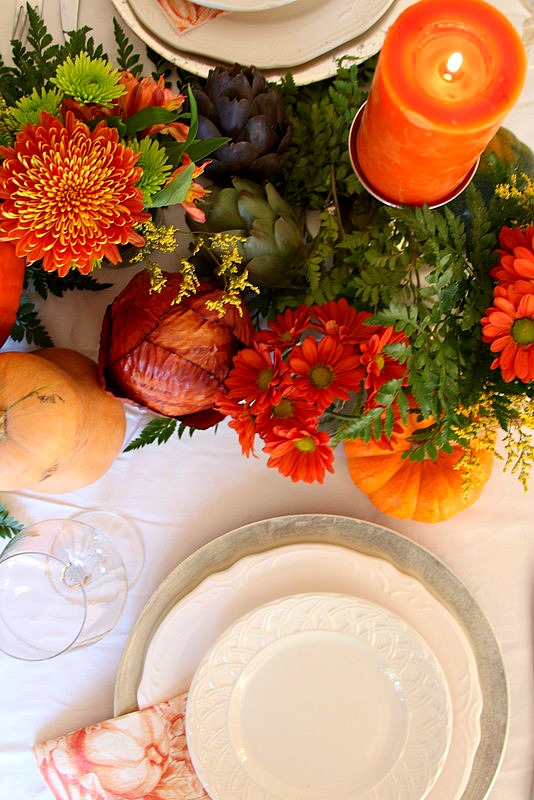
Simple. Easy. Quick. Who knows…… you may even have time to put the tree up before the guests show up. I hope this 5 Step Thanksgiving Centerpiece inspired you to make your own centerpiece!
For more of my fall projects, ideas and home tour click here.

grateful
to be able to surprise my best pal from high school at her 50th birthday party over the weekend


This centerpiece and your photos are gorgeous Laura and what great tips! I love the colors you chose.
So pretty and super tutorial
This is so cool, Laura! I never thought of the fern idea and I have tons. I like to keep it simple and although I know a centerpiece is important, it should be easy so we can get on with the important things! Thank you!! 🙂
Jane x
Beautiful and creative as always Laura!…I will not be making a Thanksgiving centerpiece this year….leaving that up to “the sisters” My job is to makeover a room!