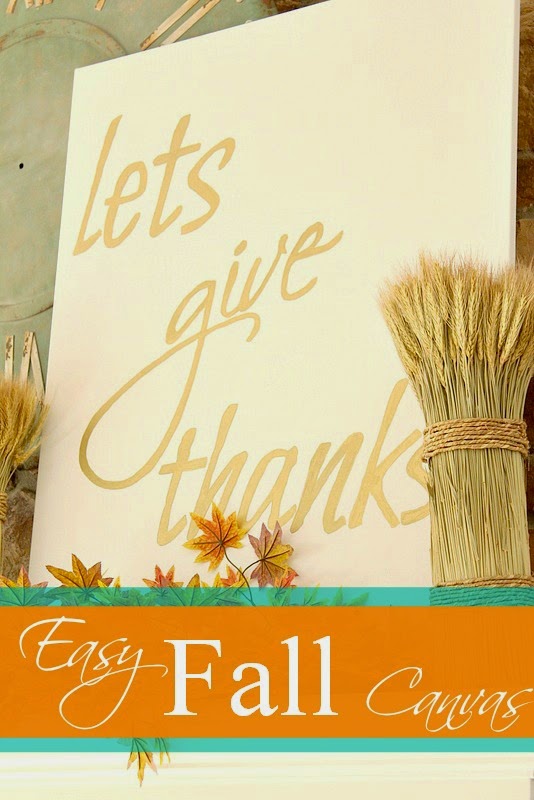
Easy Fall Canvas
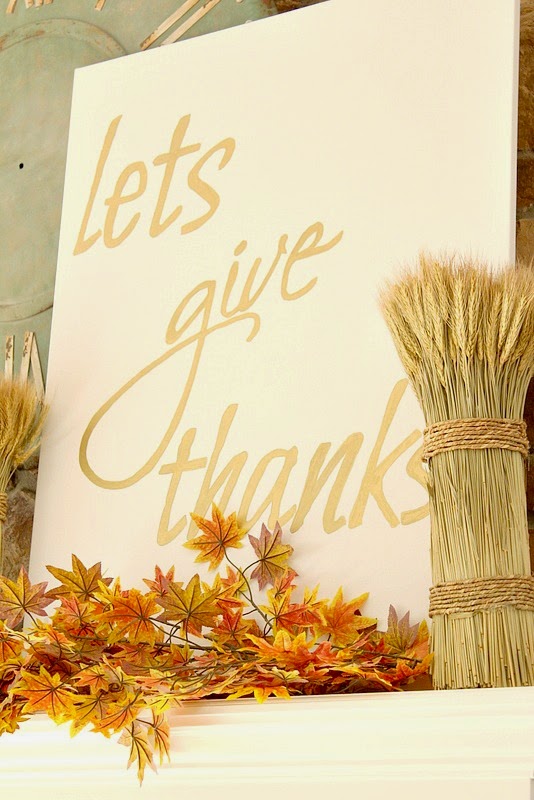
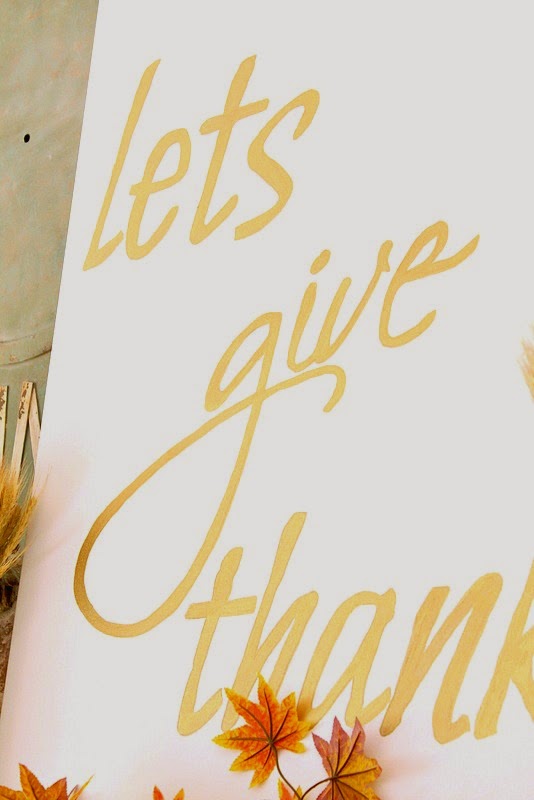
Truth be told, my heart always feels abundantly thankful……. but it sure doesn’t hurt to have a gentle reminder plastered on the mantel, tucked between the wheat grass and the fall leaves.
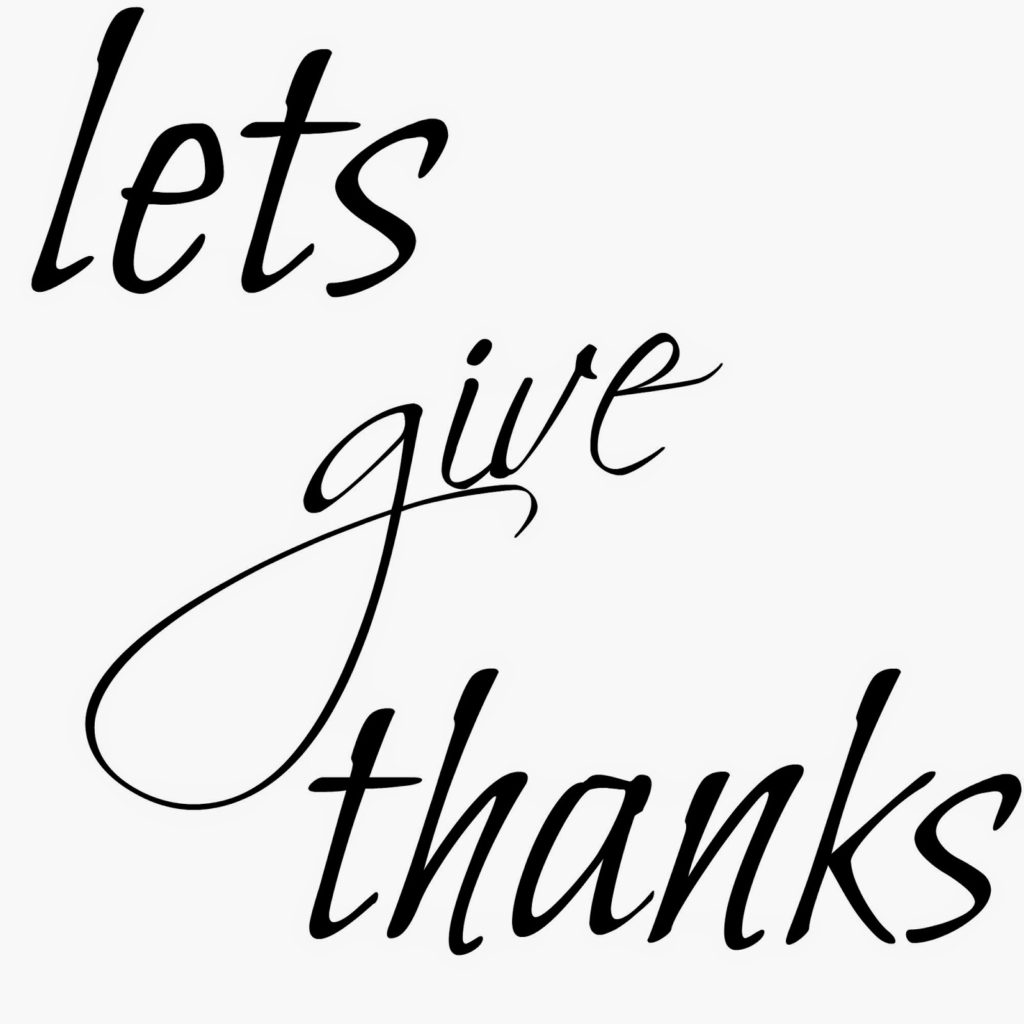
This was the kickoff project for the holiday season and I am also thankful that it was easy to do and turned out amazing. I used picmonkey (it’s free, you should use it) to create my saying and font choices. I then saved it as an image. Feel free to use this one if you would like.
Here’s the other steps that I used.
1. Start with a clean canvas. The size of my canvas was 30 x 40.
2. If you are using a projector, position your letters to the appropriate size of your canvas. Start tracing with a pencil, lightly. I used a projector but carbon paper would work as well.
3. Once your letters are on the canvas, use a Sharpie Pen ( I used gold) to outline and fill in.
4. Done
Speaking of giving thanks, I am so thankful that you take the time and visit with me here at
Top This Top That. It means the world to me.
What are you thankful for today?
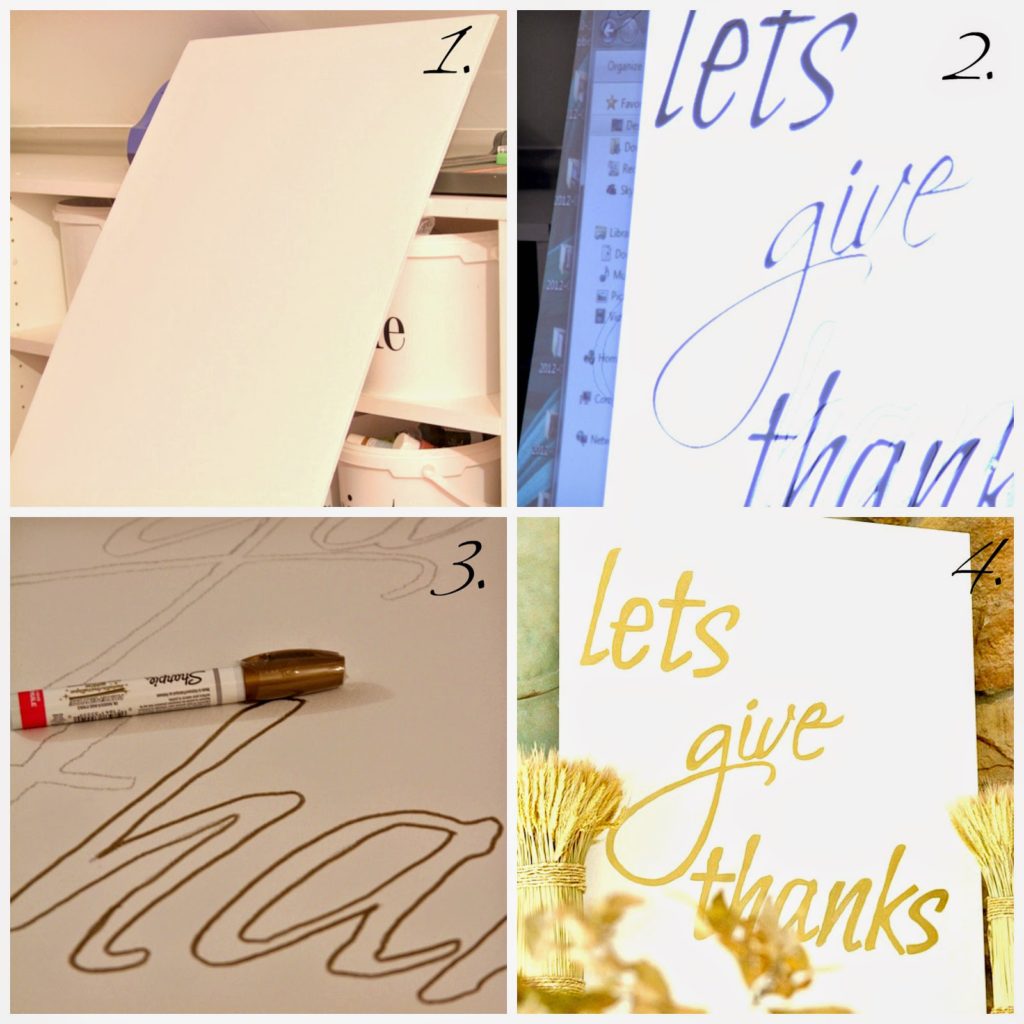



How simple and beautiful! Today I am thankful for cooler weather and the fact that I got my French drains in finally!
Great project Laura!
What a great idea! Simple & stunning — my kind of DIY! Oh, and I'm thankful to call you friend!
🙂 Linda
What a great idea, Laura! Such a huge impact and very easy to do! My kind of project!!!!
Just love it…my kind of project!!…Looks beautiful on the mantel…
That looks so good on your mantel! Love it with the sheaf of wheat too.
I love this project and appreciate you sharing how to make it.
xx,
Sherry
Looks beautiful, Laura, and so simple too. I always love visiting your blog, sweet friend!
Love it Laura, this turned out great!
Cindy
This is the 3rd post I've seen recently where people are using a projector. Where are ya'll finding them? haha
Muchas gracias Laura por tu diy y el tiempo que nos dedicas con tus entradas, me ha encantado
Besos
I love this project, Laura.