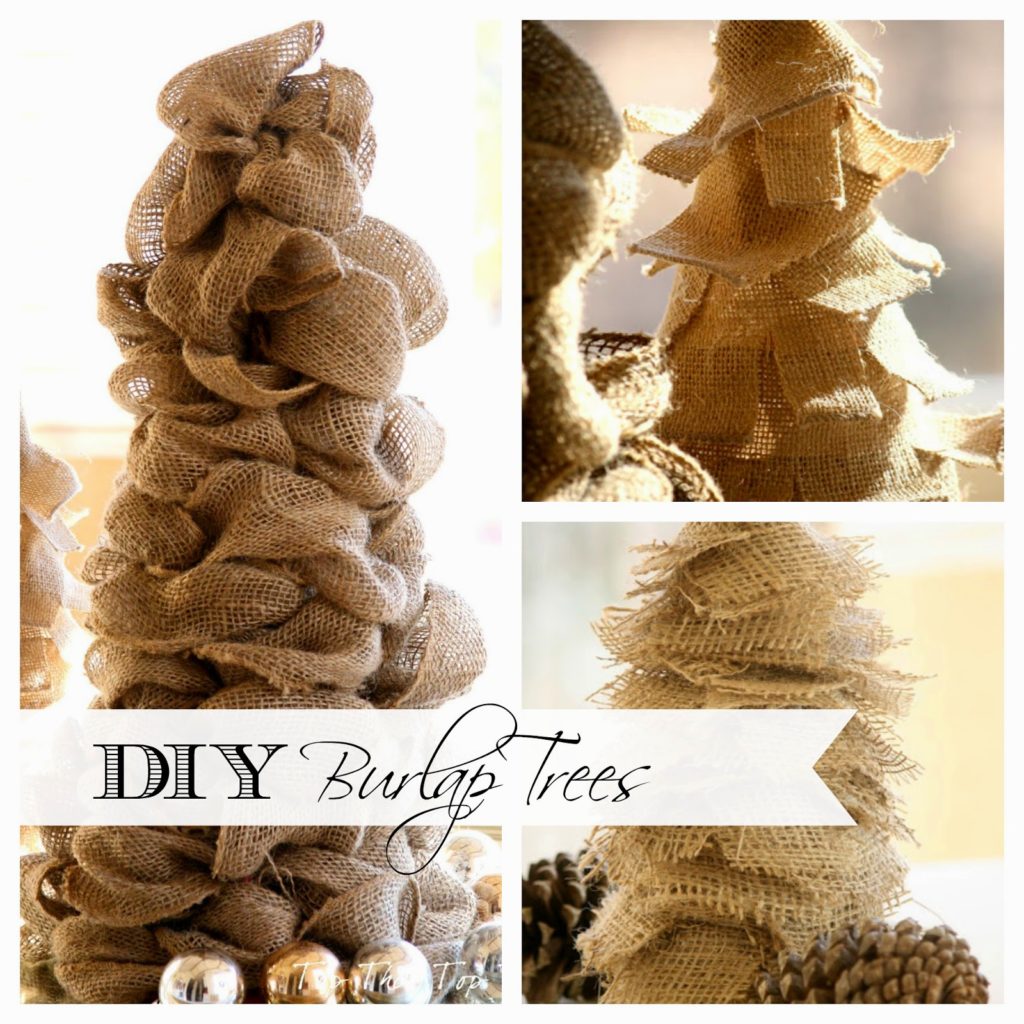
DIY Burlap Tree #2
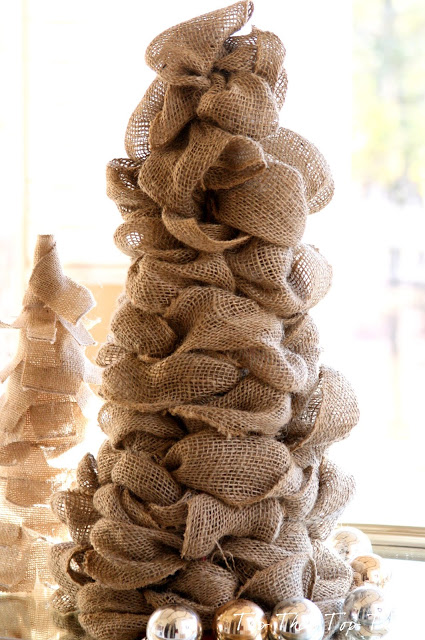
If my burlap wreath here was crowned Mrs. Burlap USA, then this tree would certainly be crowned most photogenic.
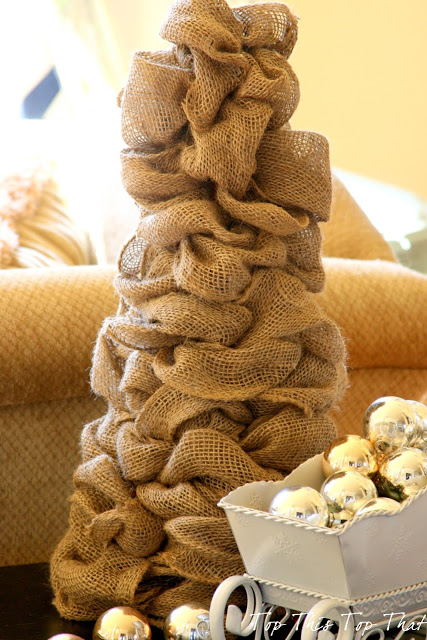
Besides being a natural, she’s easy to make and will be a crowd pleaser on your holiday table.
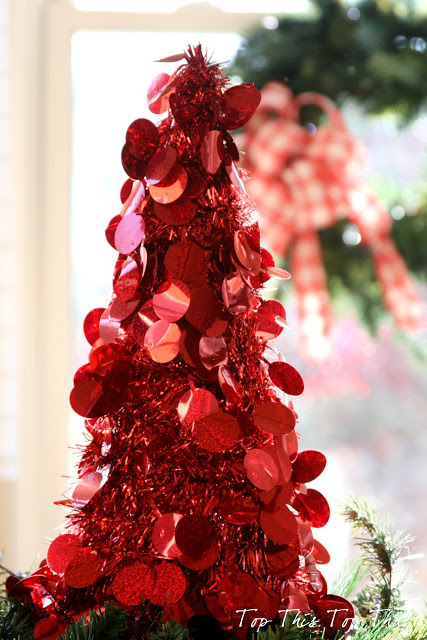
Don’t get me wrong, she was quite the show stopper in her red sequined pageant gown
but since she’s competing with the queen of burlap and all ……
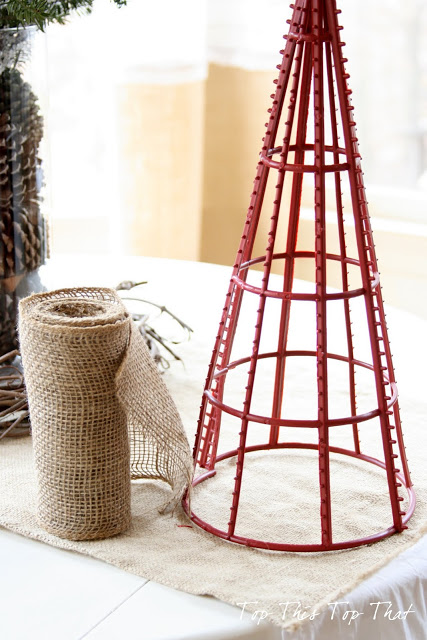
Supplies:
Cone shape tree ( I got mine from the Walmart)
Burlap garland/ribbon with finished edges- Joann Fabrics or Michaels Craft Store
scissors
Glue Gun
Step 1:
Strip the red garland on the base
Step 2:
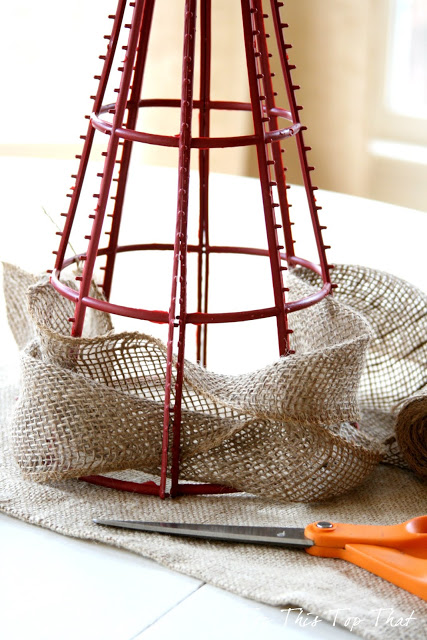
Cut your burlap in long strips, it will be easier to work with.
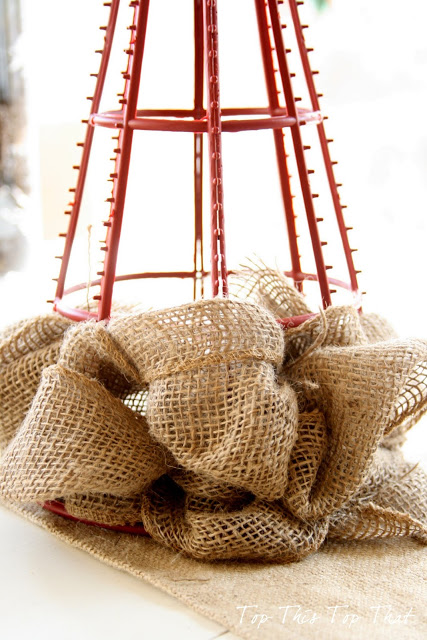
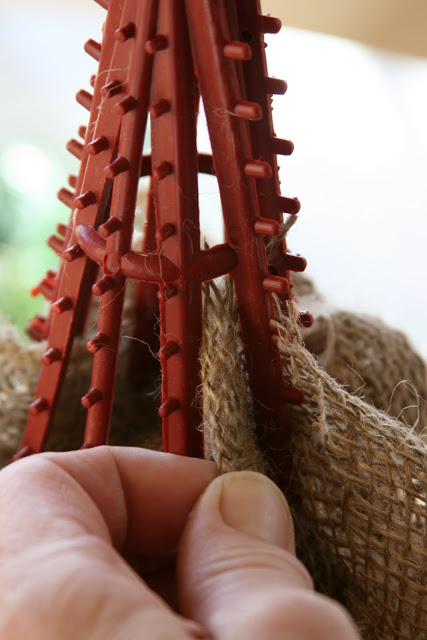
Begin weaving your strips in and out through the cone base. It is easier to work in one area at a time working side to side.
Step 3:
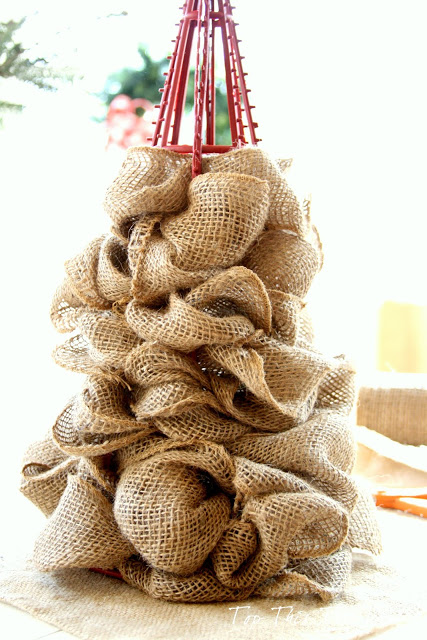
You will want to make sure that your outer loops are fairly consistent in size. Working in sections, work your way around the cone.
and up the cone
Step 4:
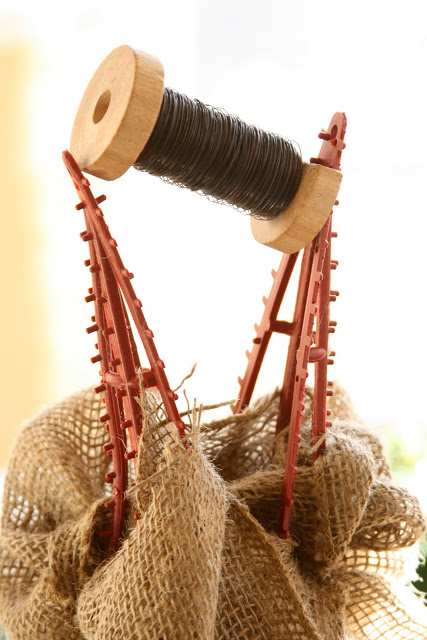
When you get to the top of the cone use something to wedge between the tree so that you can loop your burlap through the openings.
Step 5:
Work your ends through on each side and then gently pull the burlap garland as your bring the tree base back together. You can also use tweezers to gentle guide your ends through the smaller holes.
Step 6:
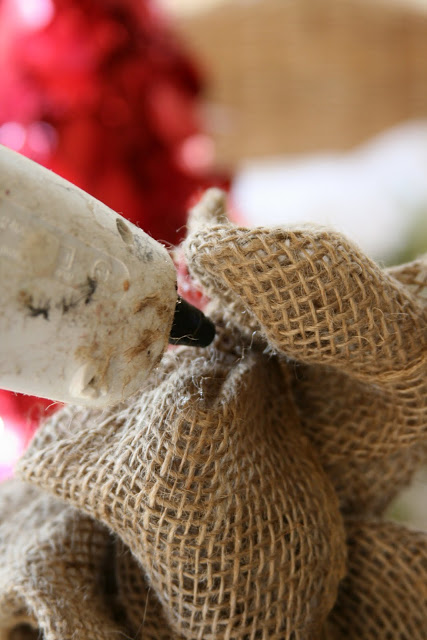
Since the very top point does not have a place you can loop through, you will need to cut pieces and shape into a loop and secure to the base with a hot glue gun.
Step 7:
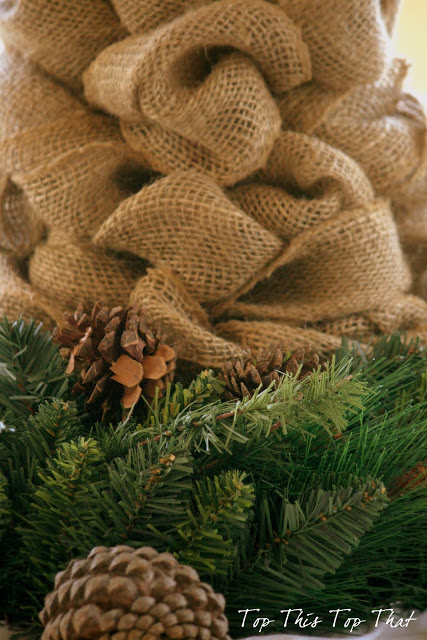
Final step is to fluff out any bare spots on the tree by gently pulling the burlap loops. You don’t want any plastic showing from the base.
Finally….. smile and wave.
You can find all the my tree tutorials here.

Grateful for:
Graduating to 20th century technology and finally upgrading to a smart phone

So that's how you did that. I thought you were getting ready to share the red sparkly one. I bought two styrofoam cones that I may take back. Can't get my crafting on. Especially since I'm not a crafter. Those suckers were not cheap.
Oh, you don't have a dumb phone like me anymore. Oh, no!!
What a great idea. I love how simple the steps are. Great tutorial.
This is awesome! I am on a total burlap kick lately, and this is something I would love to try!
I absoluteley love this and congrats on your smart phone!
I love the tree! I've never seen a tree form like that before.
You are the master of burlap fabulousness!
🙂 Linda
P.S. I'm still using a dumb phone …
Being a burlap nut also I am loving this idea. Thanks for sharing.
Hi Laura, Great burlap tree. I've never seen a tree form like that either. Thanks for the how-to.
I absolutely love your blog. So far I've made the burlap wreath with the fall decor. This week, I'm planning to make this burlap tree in preparation for Christmas. I've turned into a Burlap kinda person too. Also, love the story behind the dining room table. It melted my heart! Looking forward to more blog posts! Thanks for sharing!
Has anyone seen this tree form anywhere? I tried walmart as mentioned and they didn't have it nor had they seen it. Michaels had no clue either. :/
Found your lovely Tree on Pinterest and Love it. Then when I came to your blog, I so much enjoyed the great tutorial. I became a follower as I peeped about a bit too and enjoyed your lovely posts. Have a fun week. Thanks for sharing
I think they might be at Joanne's or Hobby Lobby, and then u can use a coupon!!!
Love this idea !!! I have been snooping around on your wonderful blog all morning (where did the time go ?), and am so impressed with your tutorials, your home and your creativity. I signed up for your blog and can't wait to look at my inbox everyday. Great job girl !!! 🙂
did anyone find the tree form??
Anyone found the tree? Have looked for weeks. Really wanted to do this. 🙁
Did you check walmart? that is where I bought them.
OMG, I love this tree!! I found your idea on Pinterest! I’m hosting a Family Holiday Reunion of 192 people and the theme is “Stagecoach Western”!! I would love to make this tree with a western touch as centerpieces. I’ll start hunting for the tree today!!!
BTW, I started following your blog (recommended by my good friend Kelly – My Soulful Home). I’m a huge fan!! You have a beautiful house and love your decorations! I would love to transform my house to look like yours!! Making changes gradually, as it very costly!!! Thank you for your inspirations!!