If you can sew a straight line, you can make these pillows
A few weeks ago I shared some pillows here that I made for my nephew
I typically don’t sew. I am too impatient to use a pattern , not good enough to install a zipper and have no clue how to use a serger. But when I stated seeing all of these awesome pillow creations made out of drop cloth, thought it was time to bring out the Singer and see what I could do. I am here to tell you that If you can sew a straight line, stencil and stuff your pillows you can make these pillows too!
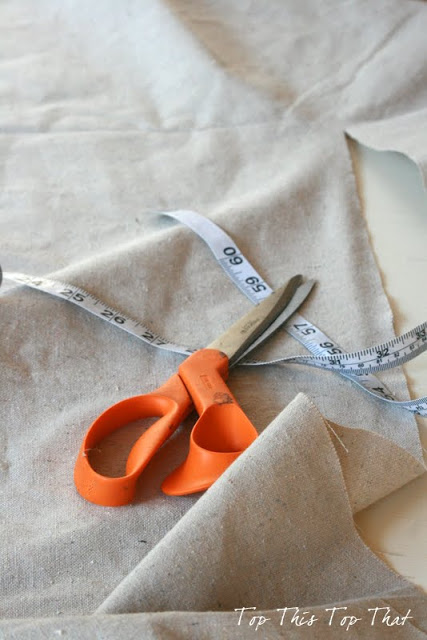
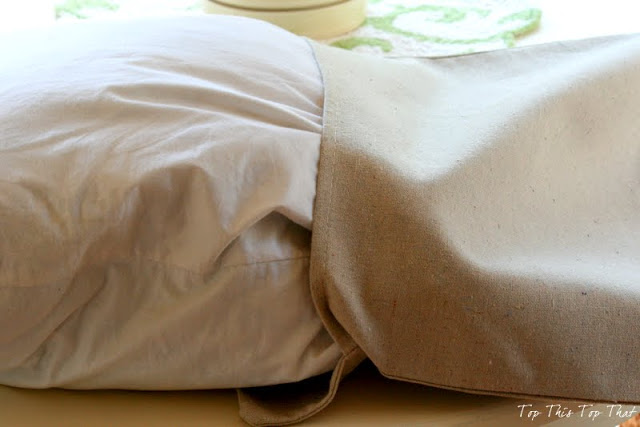
Measure your pillow, allow for at least 1/2 inch on each side for your hem. This pillow is 18 inches, so I cut my piece 19 inches ( and a tad bit more). I am doing an envelope style insert, so fold your fabric over on the pillow to make sure it fits before you pin.
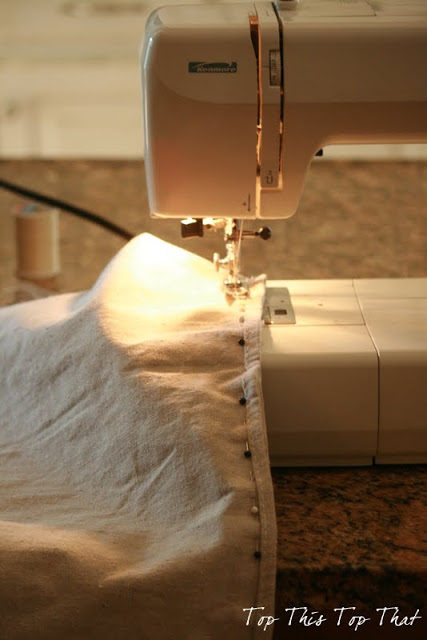
After pinning, I stitched up the 4 sides of my pillow using a simple straight stitch on my machine.
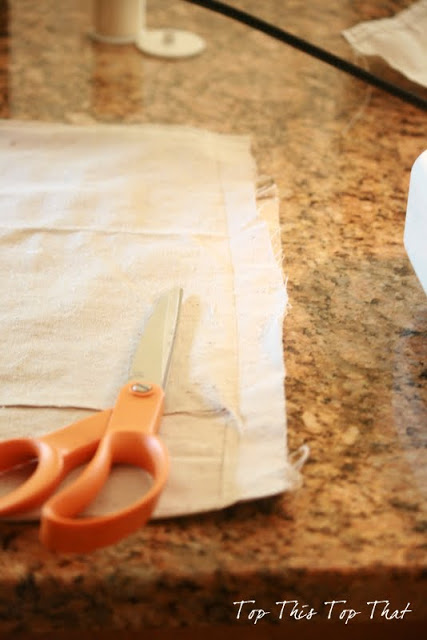
Remove any excess fabric so it does not create additional bulk inside your seams
Flip pillow to the outside and insert your pillow form
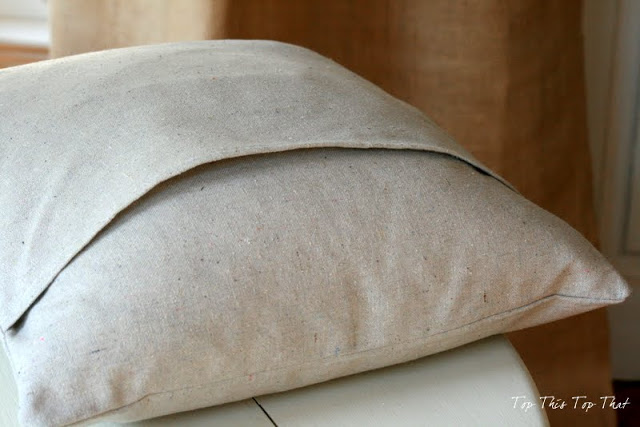
This is what the back side should look like
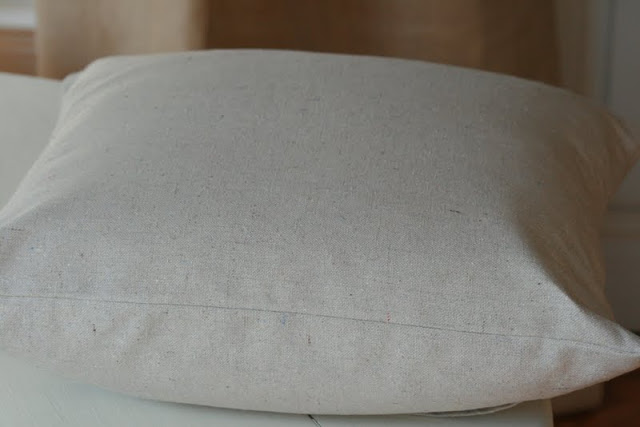
Front Side
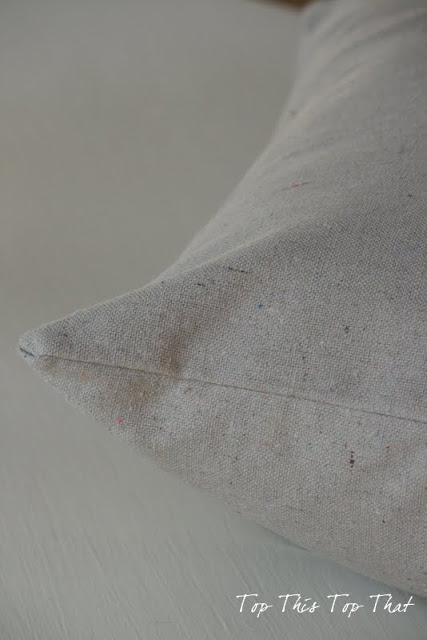
And Edges
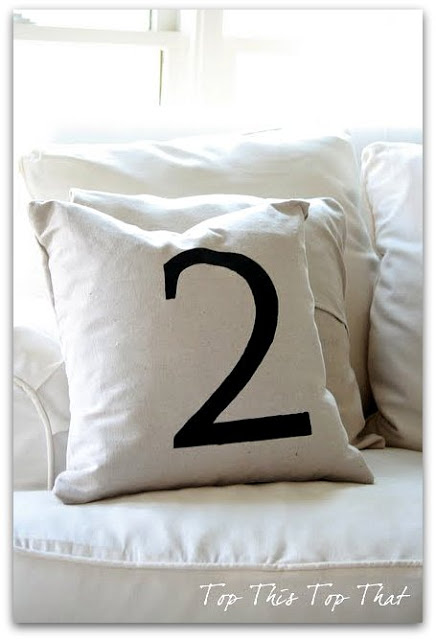
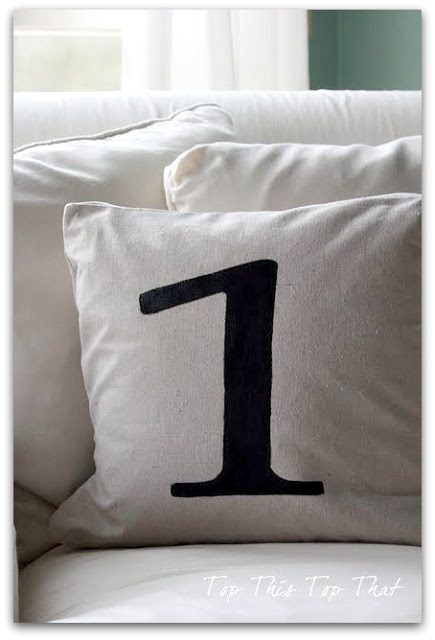
I added stenciled numbers cut from my Silhouette machine and applied with black fabric paint. Important- When applying fabric paint, be sure to place a piece of cardboard inside the middle of your pillow insert so that the paint does not bleed through the back side of your pillow.
Told you, it’s as easy as counting 1,2,3!
Come back Tuesday where I bring two of my latest pillow creations to a slumber party over at Pillowpalooza.
Happy Sunday and Sewing!!
Sharing with:





Thank you for sharing this! I so want to make a pillow and I am a terrible sewer!
This is my new favorite method. I covered a bunch of my old ugly pillows this way!
I'm not great at sewing but these look great/easy!
New follower from the blog hop 🙂
Stephanie
http://www.chocolatecoveredbuttons.com
Laura, your post came at the perfect time. I've been wanting to make some pillows but I'm like you. Don't want to follow a pattern and don't want to put in a zipper. I was wondering how I could do this and still be able to remove the pillow in order to wash the cover. You just solved my problem! You have no idea how grateful I am.
Great tutorial. I love making pillows, they are such a fabulous treat and really go fast. Fun to use all different kinds of fabric. Yours look amazing. Hugs, Marty
I'm stopping in from the blog hop. I'm following gfc and twitter. I host a weekly link party on Wednesdays and I'd love for you to link up your latest posts. You can find me at http://www.thenymelrosefamily.blogspot.com.
Hi Laura, great pillow tute! One of these days I'll make one envelope style you made it look so easy. Stop by for a blog visit I just made a pillow today.
Hi Laura, Great tutorial! I found your blog through the blog hop and your newest follower!
AHH! I can't wait to do this! Thanks for the tutorial!! Pinned!
Hi Laura!
I'm Amanda and I blog at Royal Daughter Designs. I'm co-hosting the Networking Blog Hop and I wanted to say thanks hello and thanks for linking up. I hope the hop was a success for you!
This is a great tutorial. I'm not much of a crafty kind of gal, so I need all the inspiration I can get!
My daughter in law dropped off her sewing machine today so I can sew some straight lines on some burlap pillows. If I can actually sew that straight line on those, I'll get a drop cloth and give these painted pillows a whirl. Because I want some.
~Bliss~
They look great, I love the numbers! I hope Bliss will make me some too!
Debbie
I love these pillows…I am your newest follower from the networking blog hop! I would love if you would stop by my blog and if you like what you see follow back 🙂
Modern Modest Beauty
Thanks for the tutorial! following from the blog hop! can't wait to catch up on your posts 🙂
Hi Laura: I'm a new GF friend from the blog hop. I would love it if you would stop by and be my friend, too.
I'm Connie at http://hotflashncraftn.blogspot.com/.
Great pillows! I'm a new follower through the BBC at Simply Klassic Home. I can't wait to check out the rest of your blog. 🙂 Megan
I'm a new follower through the BBC as well!
So great to "meet" you and I can't wait to see some more of your blog!
These turned out so cute! I love anything and everything numbered…. 🙂
Hi Laura, just stopping by to say how delightful your blog is and to let you know that I am now following you. Please drop by my blog and perhaps you would like to follow me also. Have a wonderful day. Hugs, Chris
http://chelencarter-retiredandlovingit.blogspot.ca/
I'm a new follower to your fun blog via the blog hop. Have a great week!
Laura,
Thanks for sharing. I haven't made a pillow in years, but I really like that. Do you think I could stencil the fabric first, then sew the pieces together?
Visiting from the Cozy Home Scenes linky party. I hope that you can stop by my blog too. 🙂
Thanks for sharing,
Laura
Love this pillow. I would love if you shared it with my readers on my link party.
http://www.kampenlane.com/2012/04/show-off-monday-3-and-craft.html
~Taylor
Laura, thanks for sharing your pillow know how at Your Cozy Home Party. You did a great job sewing them. The close up photo shows how neat the pillows are. They're very nice.——— Shannon
Great job! I love these pillows. Thanks for linking up.
I am the same way with sewing. I CAN do the basic stuff, but just don't have patience for it, and the exception I make is for pillows! Looks great!
Britta @ TheHandmadeHouse.net
Laura, thanks for the detailed instructions! I am teaching myself how to sew again after 30+ years! I thought you might like to know that I pinned your blog post. You also might like to know about a vintage fabric giveaway I'm hosting on my blog: http://livingvintageco.com/2015/02/sewing-ideas-using-vintage-linens-giveaway/.